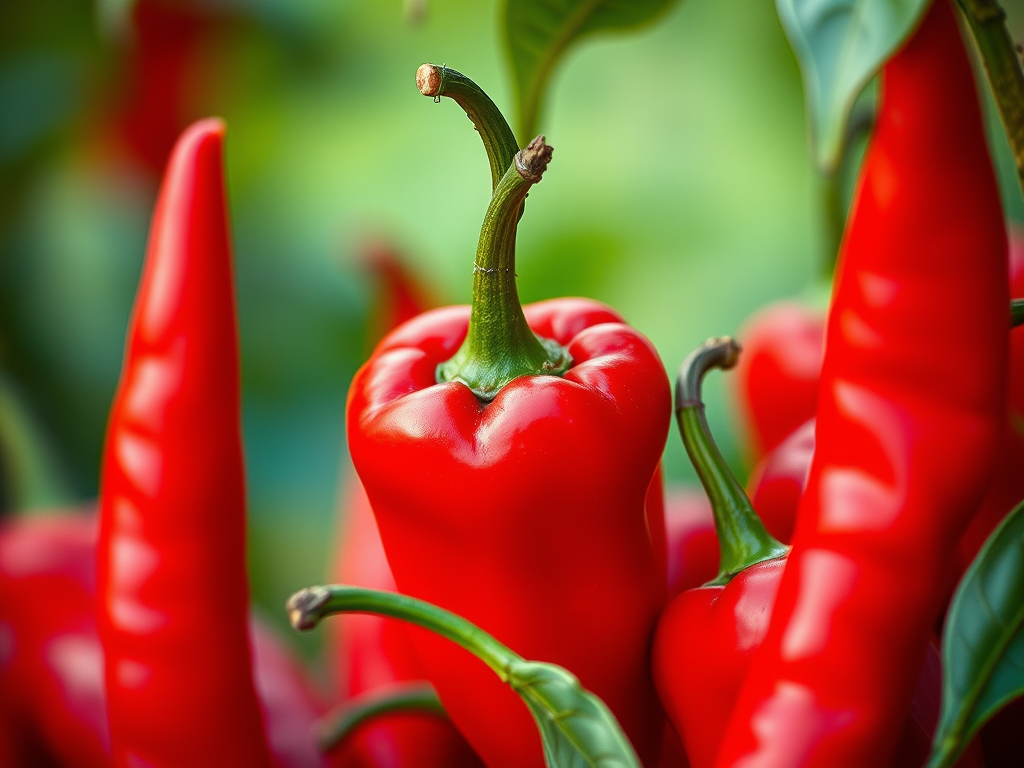
The garden is bursting with ripe chile peppers, so it’s time to make salsas, hot sauces, chili pepper powders, and other chile goodies.
I grow a few favorites every year, but I’m a sucker for new varieties as well. I’m not a fan of extremely hot peppers, especially when they are so hot that the burn takes away all flavor. But there are some mildly hot peppers that are not on that extreme scale, and the flavors you get from them is unmatchable.
I always grow Aleppo and Espelette peppers for chili powder and Jalapenos for salsa. I grow Anaheims and Poblanos for roasting for the freezer for soups and stews in winter, and this year my new pepper is Sugar Rush Peach, an heirloom that has just appeared to be readily available.
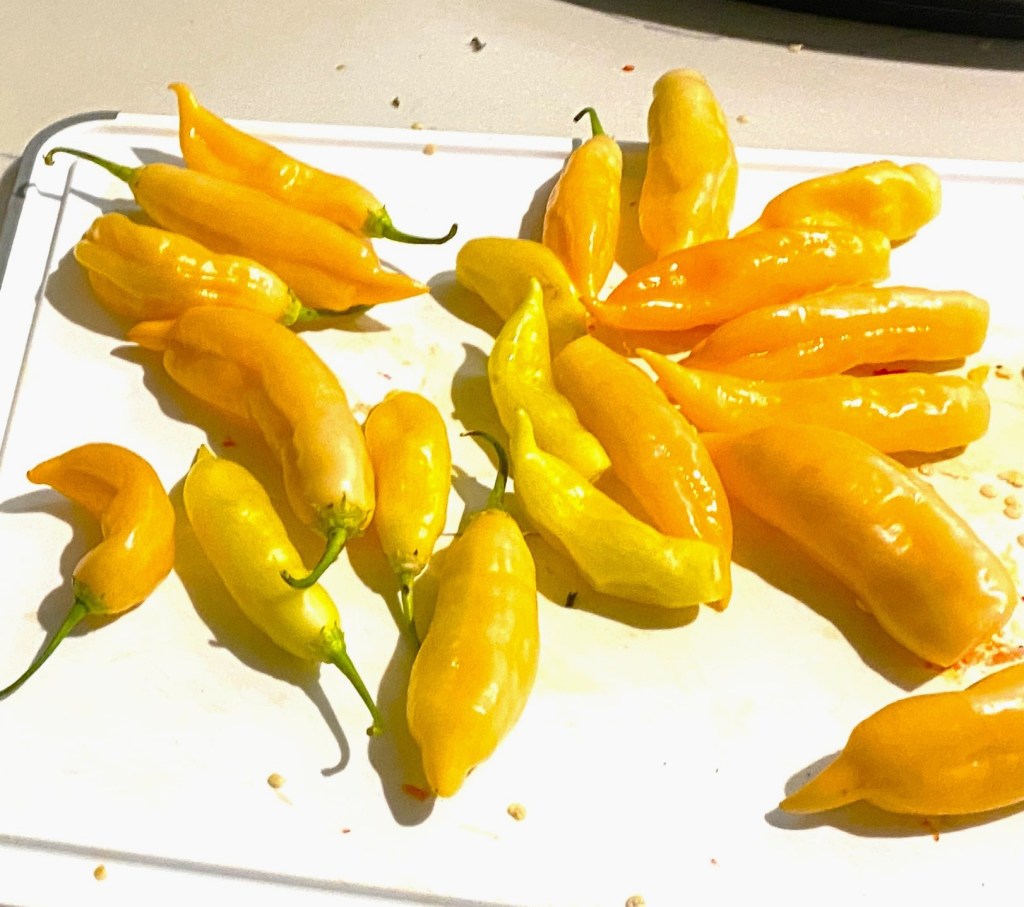
Sugar Rush Peach peppers
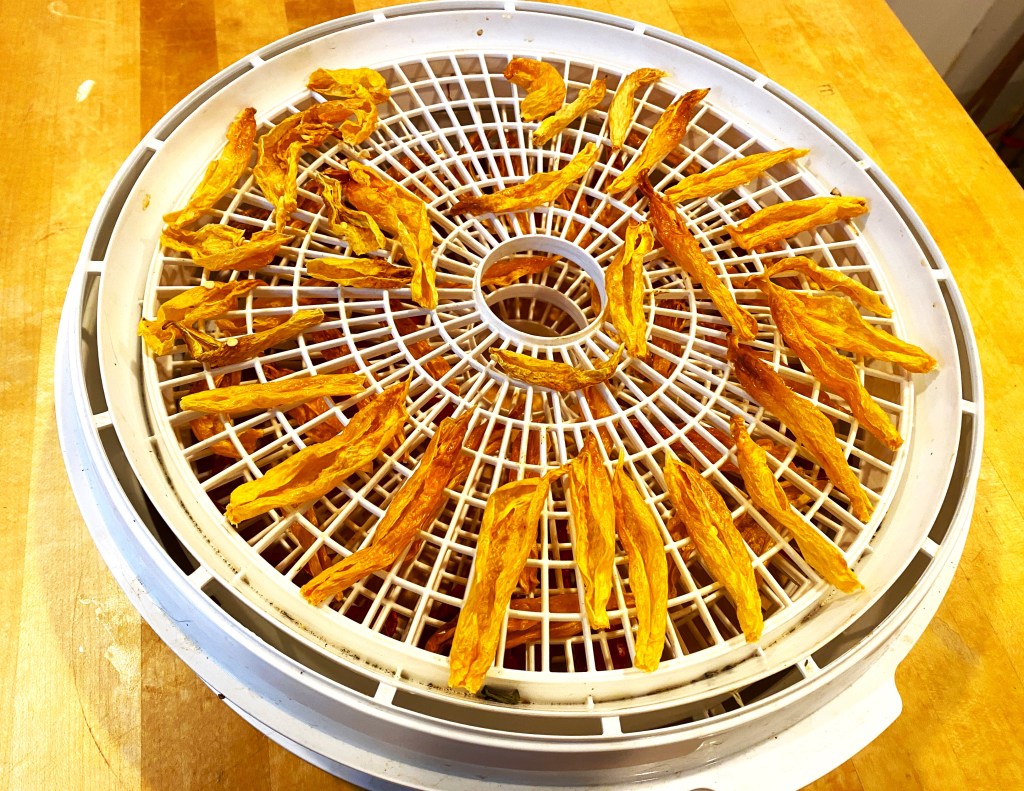
Dehydrating
I had only one plant of Sugar Rush but it was heavily laden with lovely peach-colored peppers as they ripened. So, I had baskets of these peppers and needed to figure out what to do with them. I tried grilling them and they were a little too hot to eat plain so I diced them into some salsa which toned down the heat a bit. I dried the rest for chili powder and the tropical sweetness behind the heat is delicious. My best discovery was to stuff halves with cream cheese mixed with pepper jelly and broil them. They are not quite so hot when cooked, and these “poppers” are absolutely delicious.
Two extraordinary ways to eat some of the sweeter chile peppers:
Grilled Stuffed Sweet Heat Peppers
20 Sweet Heat peppers, sliced lengthwise into halves, seeds and membranes removed (they look best if the stems are left on)
2 slices bacon
1 c. cream cheese, softened (or ½ c. cream cheese and ½ c. goat cheese)
¼ c. shredded cheddar cheese
¼ minced chives
1 small garlic clove, minced
1 T. chopped fresh thyme
Preheat grill to medium-high heat. Cook bacon until crisp and drain. Crumble bacon and add to rest of ingredients. Stuff pepper halves and place on grilling rack coated with cooking spray. Grill covered about ten minutes, until peppers are charred. Remove to serving platter and sprinkle with chopped, seeded fresh tomatoes.
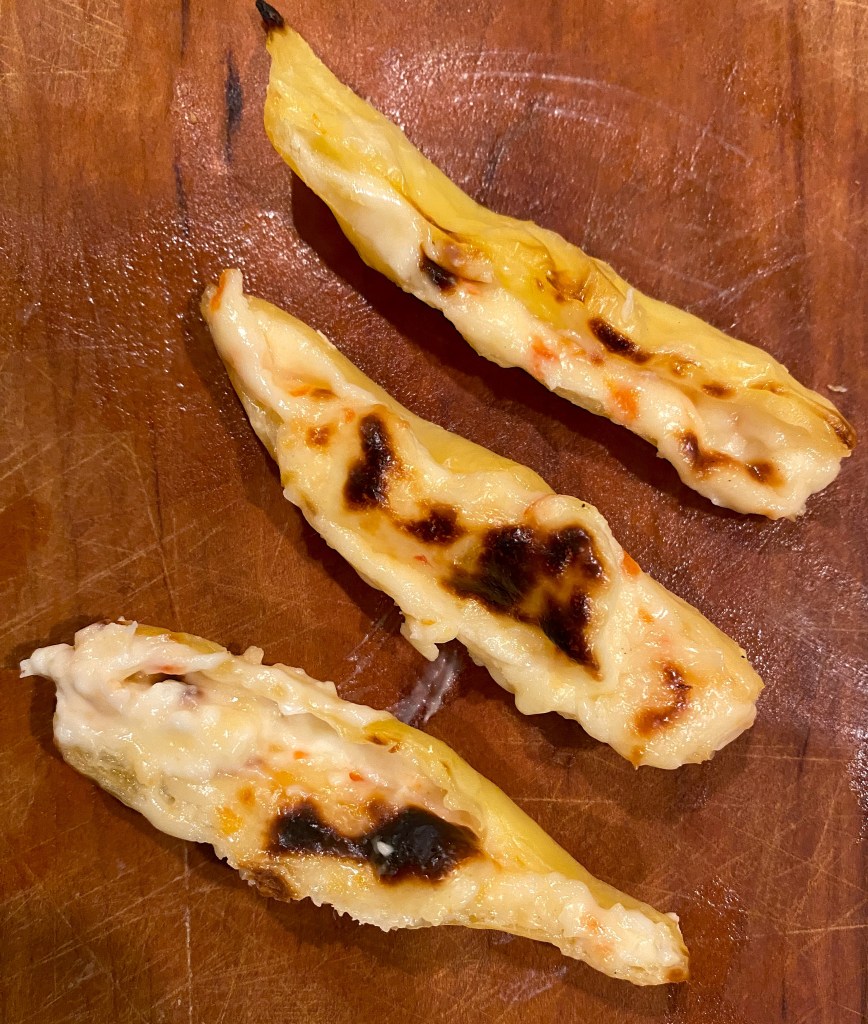
Stuffed Sugar Rush Peach Peppers
Ten Sugar Rush Peach peppers, sliced lengthwise into halves, seeds and membranes removed (they look best if the stems are left on)
½ c. softened cream cheese
¼ c. pepper jelly (or any favorite jelly)
Mix the cream cheese and jelly and stuff the pepper halves. Slide under the broiler just until the cream cheese gets soft and begins to brown.
Remove and enjoy!


You must be logged in to post a comment.