Our house is in the midst of putting summer in jars. All winter we’ll recall the sights and scents of summer as we open jars of home-canned fruits and vegetables.
Opening a jar of our tomatoes in the dead of January lets the odor of summer waft through the kitchen and the scent is so strong that you can almost hear bees buzzing and feel the warmth rising from dark soil.
“Putting food by” is much more than just filling the larders for winter consumption — it is an elixir for the soul. Not only is the food good for us, but one of the best prescriptions available for keeping the winter doldrums at bay is homemade strawberry jam on warm toast.
My grandmother, who taught me to how to can, always used everything from the garden. After canning tomatoes, green beans and squash, the leftover vegetables would go into chowchow or green tomato piccalilli.
Pickled asparagus
Bolted lettuce and endive were blanched and frozen as bitter greens for a winter stir-fry. Fresh apples and pears went into the root cellar while the overripe or bruised fruits are made into musky butters or tangy chutneys.
I came by the love of preserving naturally. I have such sweet memories about how each time my mother was introduced to a new plant, her first question is not how to grow it, but “Can you make jelly out of the fruit?”
In our house, ripening currants start a frenzy of jelly and syrup-making which continues as plums, elderberries and grapes ripen. For August, September and October the kitchen is converted into a canning kitchen.
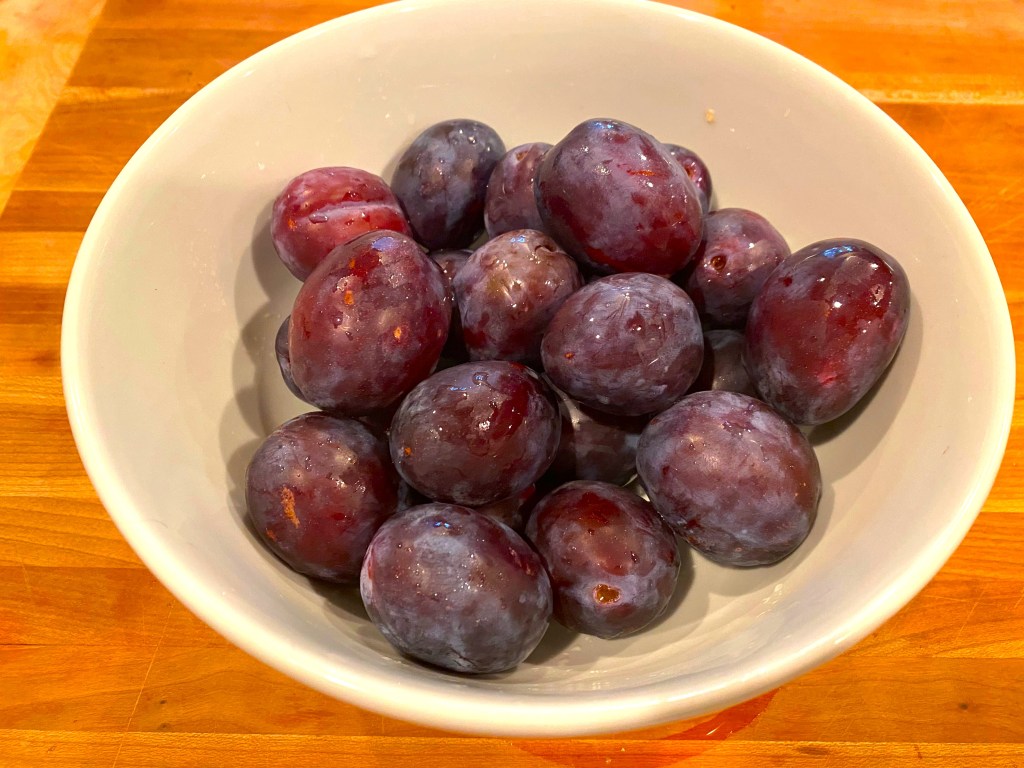
Prune plums ready for plum butter
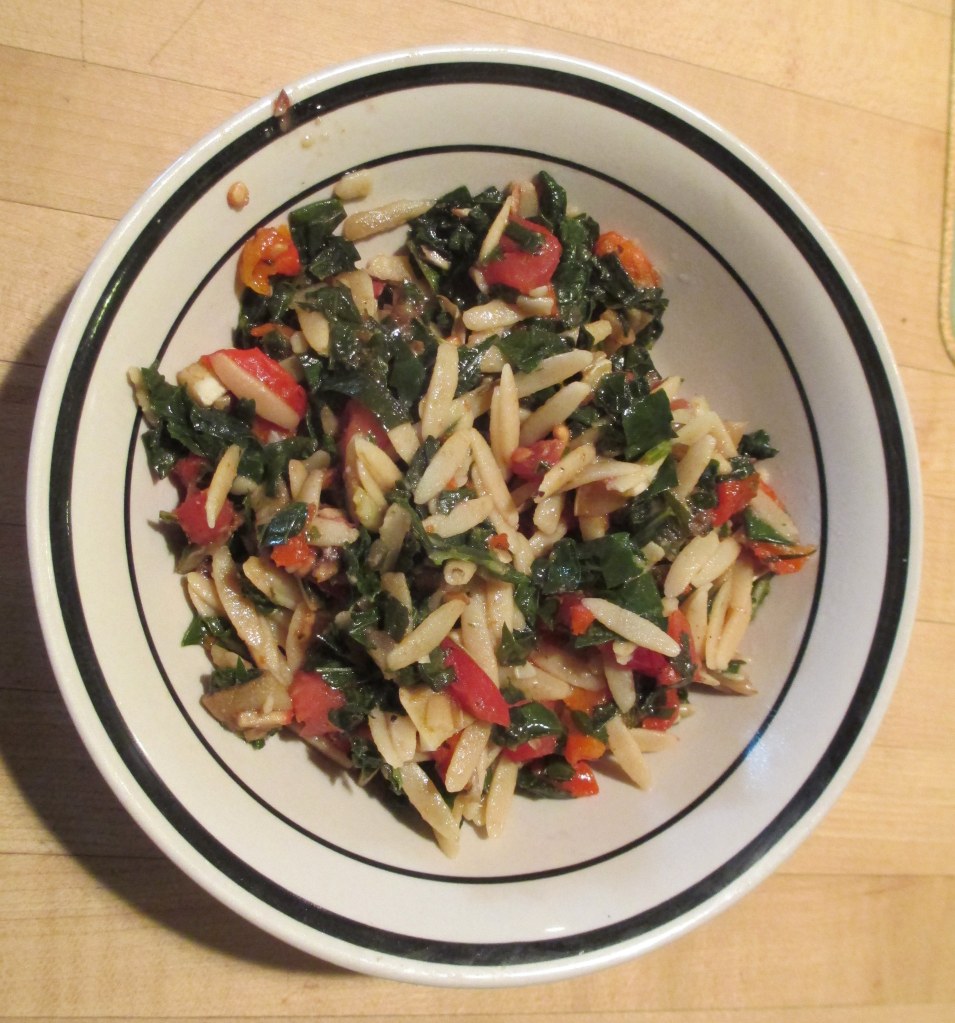
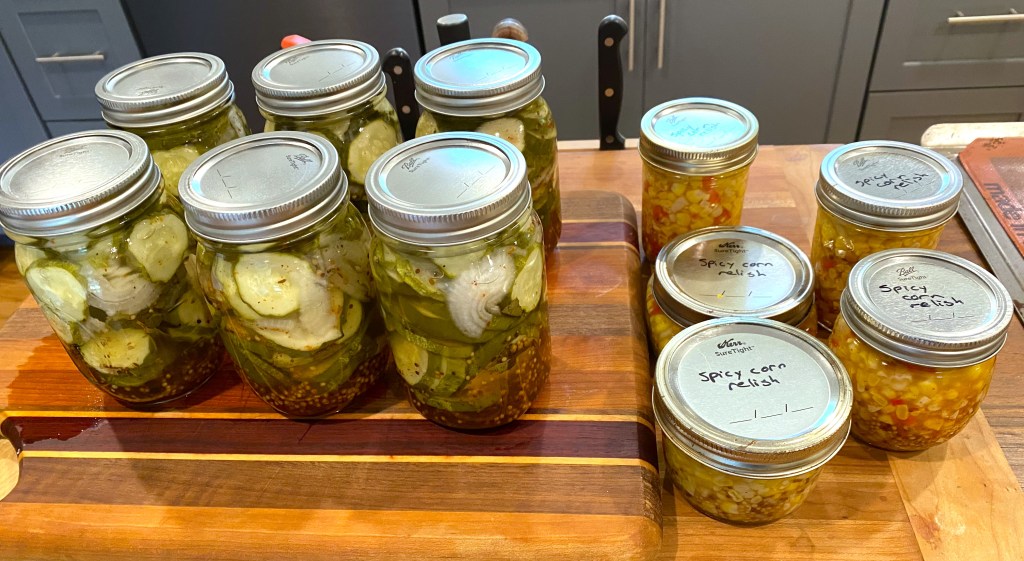
The canning pot takes a position of prominence on the counter, surrounded by canning lids, freezer bags and various utensils for lifting, tightening, pouring and straining. We put up tomatoes, dilly beans, beets, cucumber and zucchini pickles, hot peppers, relishes, pears and herb vinegars.
I recently read that the Ball canning jar company sold its canning jar business because “too many working couples have too little time to engage in the culinary ritual of preserving fruits and vegetables from the home garden.” It makes me sad to think that we are losing a valuable psychological tool for getting through the long winters.
The optimist in me likes to think that the real reason canning jar sales are down is because people are rediscovering the jars in their basement or are inheriting and using jars from parents and grandparents. Even empty, a canning jar is a work of art. It is a masterpiece of solid construction, made of tempered glass that will withstand the pressure cooker again and again.
I have jars that I inherited from my grandmother bearing dates from the late 1800s. They appear to be as sturdy as those purchased today and give me a solid tie to the past as I put bits of summer in them.
In the middle of the summer heat, the sound of the dehydrator buzzing and the smells of ripe fruit and vegetables and the bright jars of pear butter, tomato sauce, tarragon vinegar and green tomato pickles make this a luscious time of year.
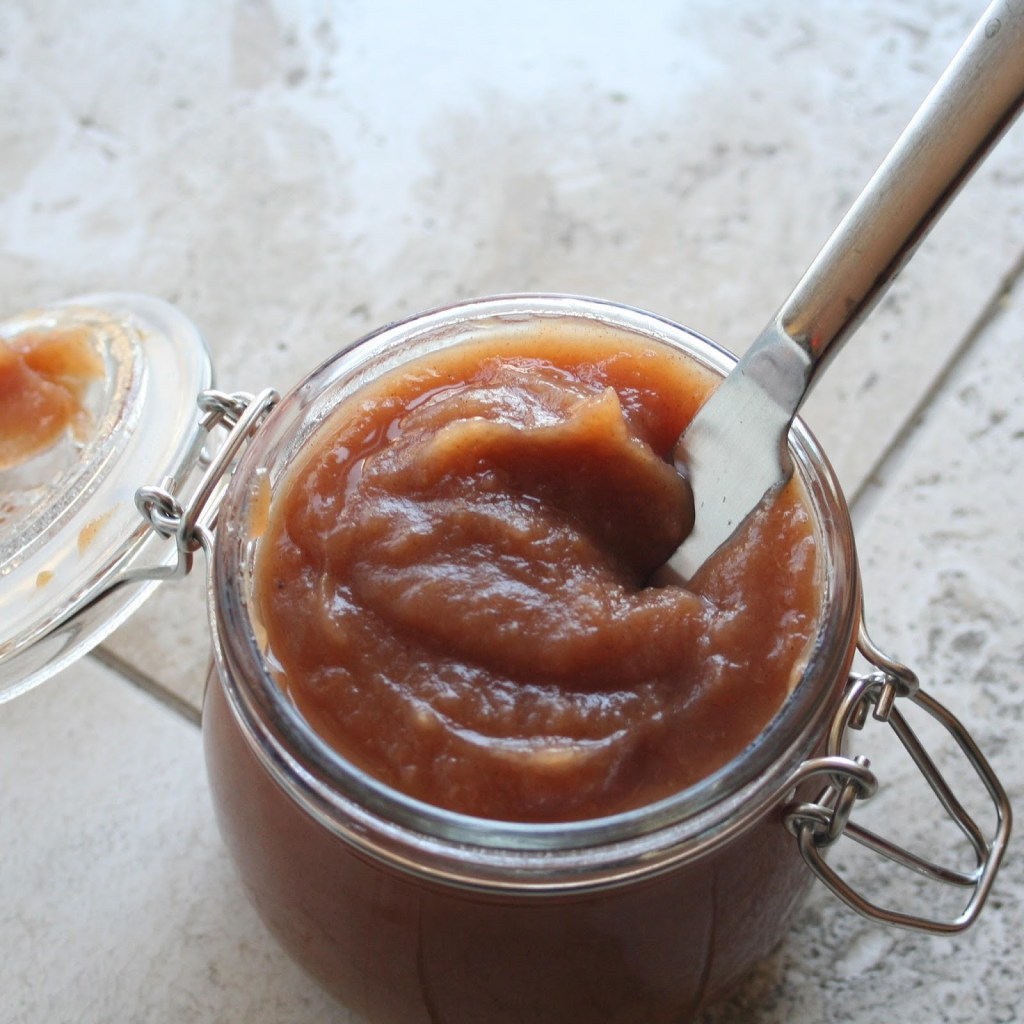
Crock Pot Butter
4 cups cooked fruit (apple, peach, pear, plum), run through a food mill or food processor. Taste the fruit to determine sweetness. If you like a very sweet butter, add up to 2 cups of sugar. If you like it more tart, make it with only a small amount of sugar.
2 t. cinnamon
½ t. cloves
Cook all day on low, stirring and scraping down sides occasionally. Taste as you go and add more sugar if needed. Spoon into hot half-pint canning jars, leaving ¼” headroom. Slide a butter knife down the sides to release bubbles and wipe the rim. Cap with hot canning flats and rings. Place in the canner and bring to a rolling boil. Process for 10 minutes and remove from water. Allow to cool on the counter, making sure all flats “pop” to ensure a seal. If one jar doesn’t seal, put it in the refrigerator and enjoy!


You must be logged in to post a comment.