
Isn’t this the best time to start thinking about planning a garden? The weather is not-so-great, it’s warm and cozy indoors, and if you’re like me, the fall garden is far enough in the past that I’ve gotten over my weariness. I’m getting the itch to start gardening again.
Putting time into planning before you even put a seed in a pot will make you a much happier gardener come planting time. You don’t necessarily have to put everything on paper, but at least start pondering some things. And if you’ve kept a calendar or notes from prior years, it’s time to drag those out and learn from your mistakes and successes.
Site selection

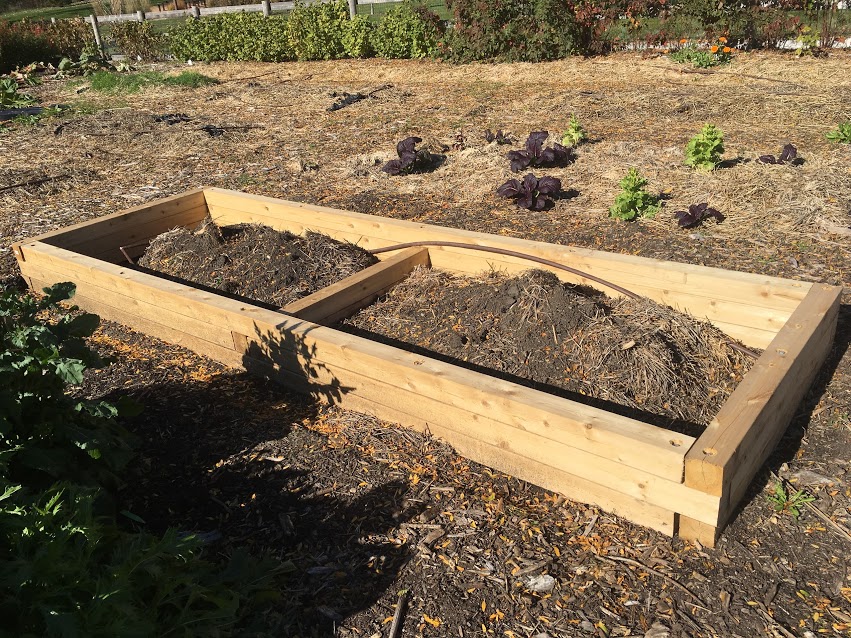
If this is a brand new garden, site selection is critical. Keep in mind that you don’t need a huge spreading garden, especially to begin with. The amount of inherent work may only discourage you. Consider raised beds that dry out faster and warm up quickly, containers that can put veggies on the patio, or a small kitchen garden outside the back door with maybe a little larger garden for bigger produce like zucchini and vining cucumbers.
Plenty of sun
Wherever you decide to put your garden, make sure you have plenty of sun. Some vegetables and fruits grow in partial shade but most need seven to eight hours of sun.
House and water access
You will also need to consider the distance from the house – you won’t be inclined to get into the garden often if it’s down in the back forty. Make sure you have easy access to water without hauling heavy hoses for hundreds of yards. And give yourself access to a compost pile.
Take advantage of small microclimates like next to the garage wall for plants that need warmer starting temperatures or the shady spot on the east side to grow lettuce longer than if it was in full, hot sun.
Planning garden beds
Garden rows or beds should run north and south for the best sun exposure and air circulation. And, the beds should be no more than three or four feet wide in order to allow you to reach the center of the bed without stepping in. This will help avoid soil compaction. If your soil is poor, perhaps you need to raise your beds and bring in fresh soil. Or maybe you just need to add plenty of organics.
A thing of beauty
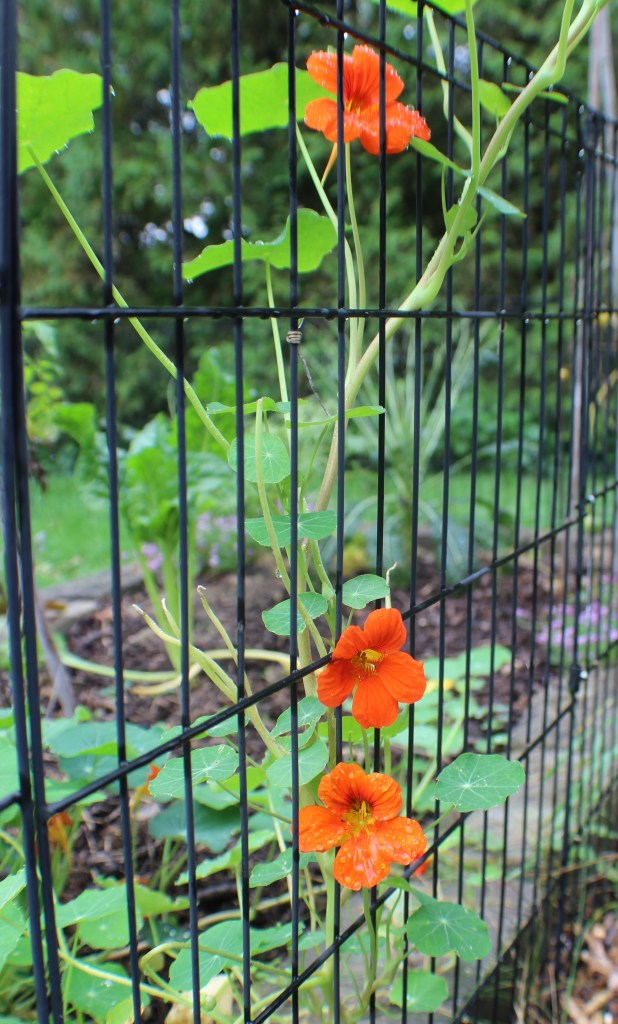
Lastly, think about aesthetics. It really is okay to put your garden in the front yard as long as you keep it looking neat so your neighbors won’t run screaming to the authorities about your weed patch. Well-designed vegetable gardens are beautiful parts of the landscape.
Keep quantities in mind
So, now you get to start choosing plants to grow. Before tripping through the seed catalogs and ripping out a huge seed order, take a rationality check. You don’t want to be overwhelmed with produce so only grow what you intend to eat. Of course, you may want to plan for putting food up for winter, which is fine. But bushels of tomatoes have to go somewhere, and remember that your neighbors’ tomatoes are coming in at the same time so they will not appreciate a basket of tomatoes left in the night on their front porch. Envision summer visitors laden with extra zucchini, and summarily tossing them out the car windows as they leave your home.
If you have a small garden, think twice before planning space hogs like pumpkins and sweet corn. They take up a huge amount of space for little return. And, they are always available at the farmers’ market.
Grow what you love
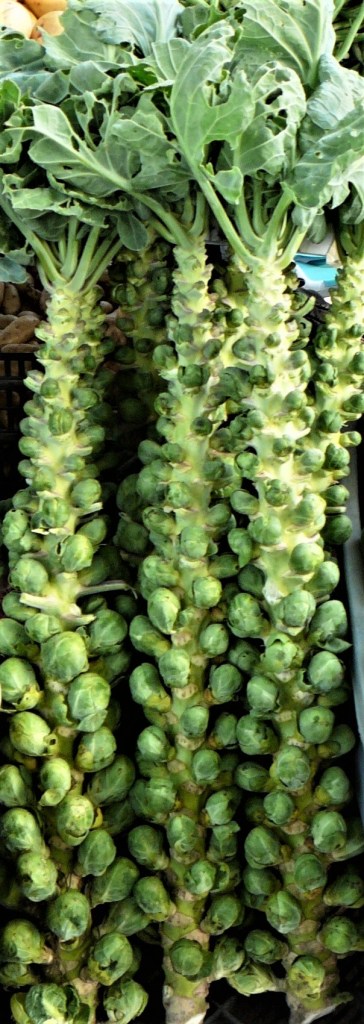
It doesn’t make sense, either, to grow something you are not fond of. Brussels sprouts are awesome-looking plants, but if you don’t like the taste, don’t grow them.
As you look at the seed catalogs, you’ll need to consider the “days to maturity” for your plants. Find out the average frost in your area (from your local cooperative extension), and plan for the right number of growing days. As wonderful as sweet potatoes taste, you need to have a long growing season.
Warm vs. cool season plants
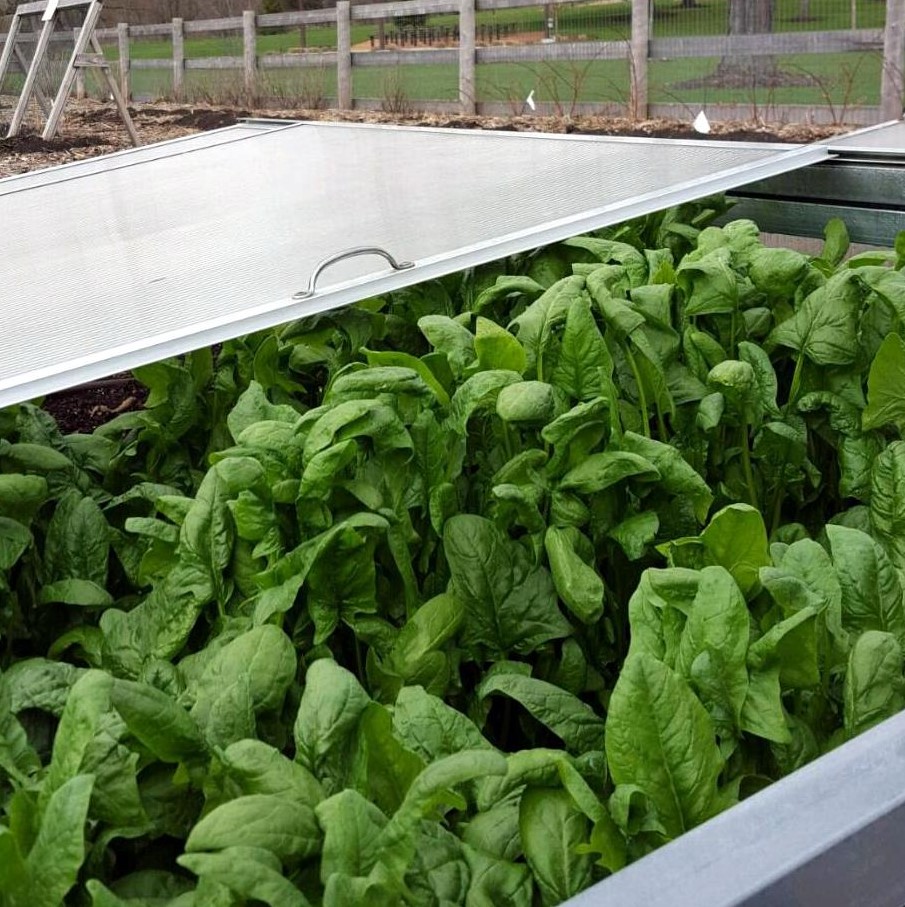
Next, you will begin to think about warm and cool-season varieties. Cool-season plants such as lettuce, spinach and peas are usually planted directly outdoors as soon as the frost leaves the ground. Warm-season plants such as tomatoes, peppers and eggplants are usually started indoors, whether in your basement or in commercial greenhouses.
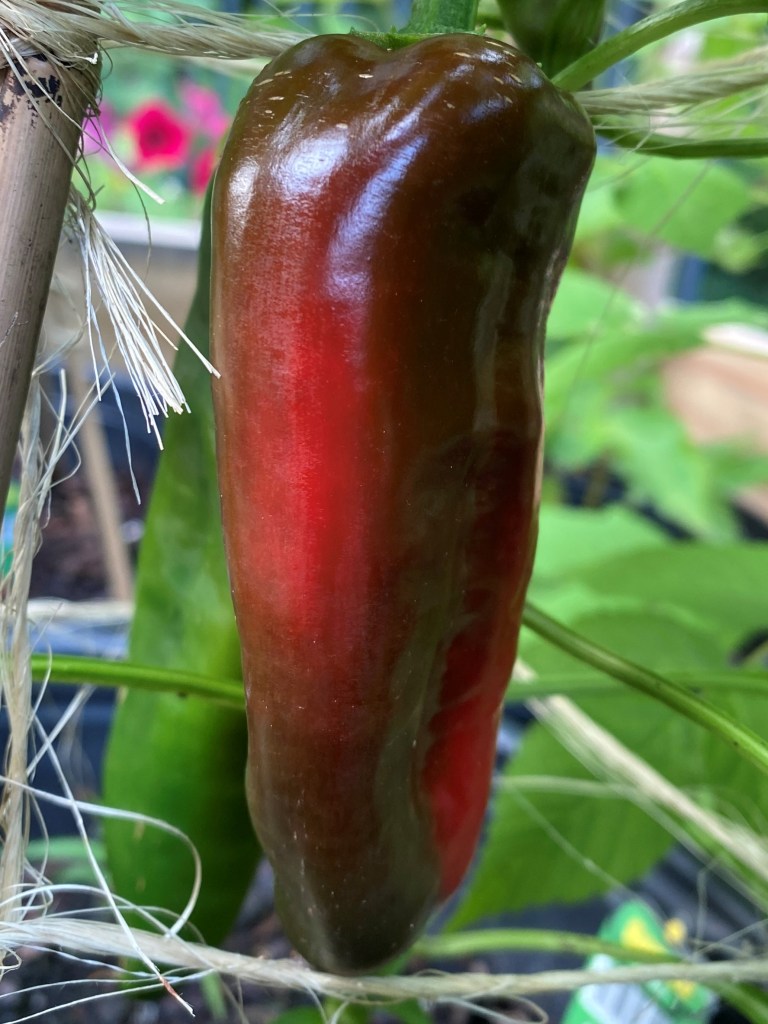
There’s also another category of vegetables that are perennial and need to be planted only one time. Site selection is important for asparagus, sorrel, Jerusalem artichokes and rhubarb because the plants will be there a long time.
Rice (or any other grain)- a great base for delicious sides or main dishes

Check out the Grains section in the recipe folders for information on cooking each type of grain. Once you have your cooked grain, simple additions can dress it up for dinner. Grains are great warm or cold in a salad. Here are some suggestions, but let your creative side reign. And enjoy!
Suggested additions
- Broccoli, sesame oil, chopped toasted peanuts
- Sauteed mushrooms, snow peas and sliced water chestnuts
- Basil pesto, cooked or raw shredded zucchini and chopped tomatoes
- Black beans, minced red onion, chopped red pepper, cilantro
- Garbanzo beans, shredded carrots, parsley, ricotta and romano
- Marinated artichoke hearts
- Frozen spinach, thawed and drained, plus feta cheese


You must be logged in to post a comment.