
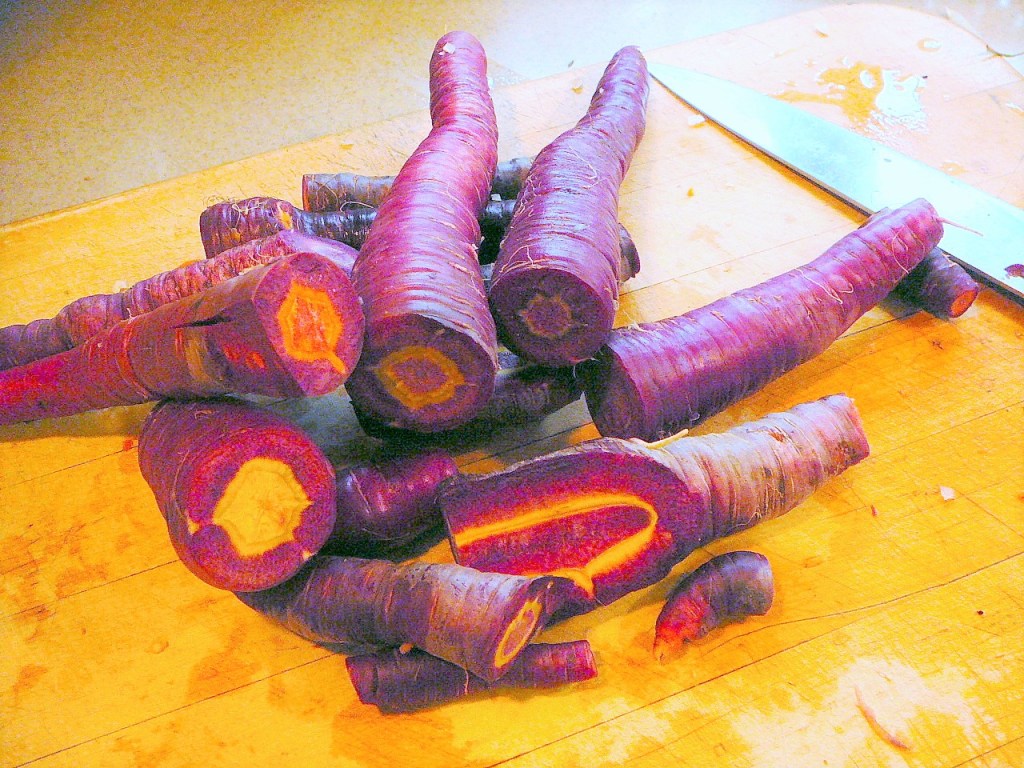
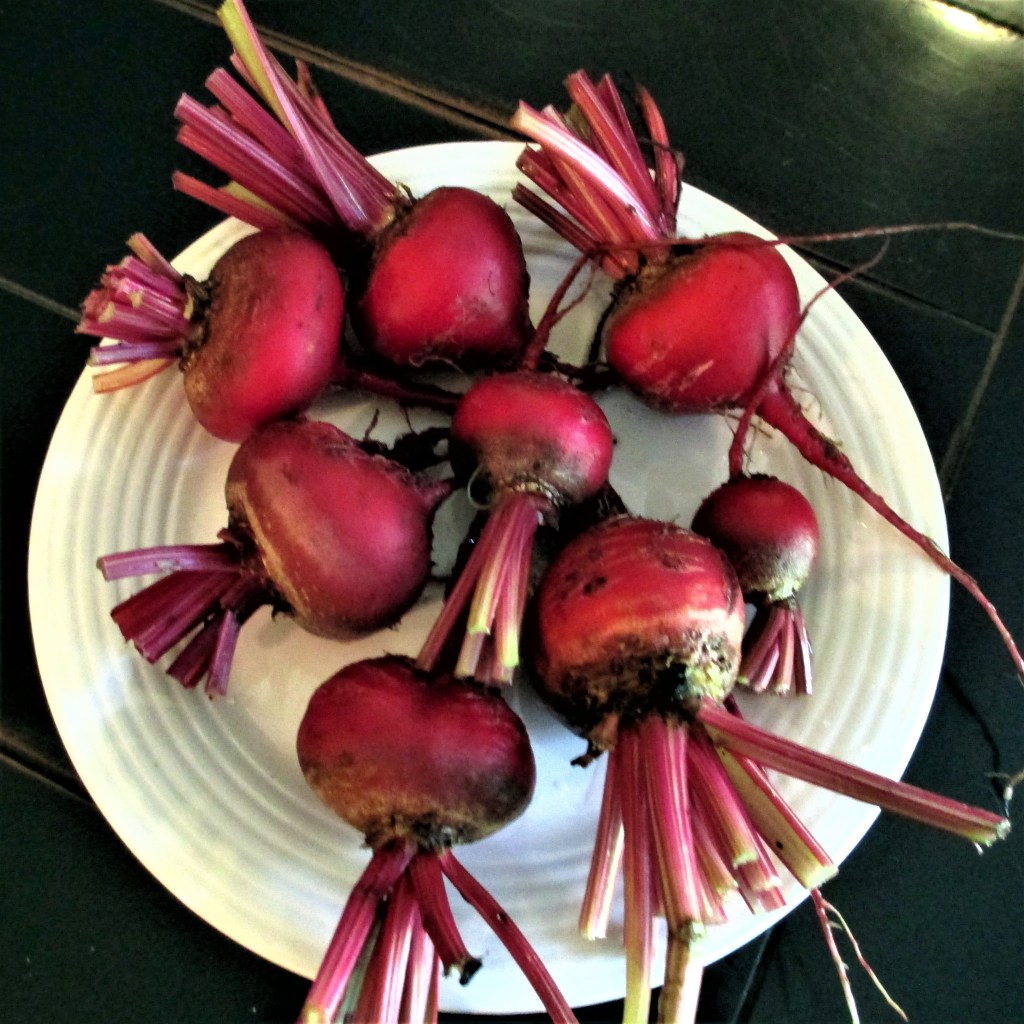
It seems that when we are sequestered indoors, our bodies yearn for warmth, both internally and externally. We naturally crave those earthy flavors of root vegetables such as carrots, beets, parsnips and even rutabagas. So, plan a visit to the winter farmers’ market or raid your own root cellar for any combination of delectable root vegetables. Cook up your roots into a rich soup (with the added sweetness of a butternut squash), dish up a bowl, cut a slice of rustic bread, and pull your chair up next to the fire.
Start planting roots crops
It’s time to start planting root crops. They are perhaps the easiest of vegetables to grow. Cool season crops, they bracket the garden season or can be planted multiple times for yield all season long. You can put the seeds into the garden as early as possible. The seeds will not be harmed even by heavy frost, so as soon as the thaw starts, get them out there. If your garden is prepared, you can even cast the seeds on the snow to get the earliest start as soon as they hit the soil.
Don’t forget fall planting
At the other end of the season, start planning the fall crop in July. Carrots and beets go in around the middle of the month, turnips the first week.
Easy to grow
Root crops grow well in any spot in the garden that receives six to eight hours of sun. The most critical element to healthy growth is preparing the soil deeply to have good tilth, with nothing to impede the growth of the roots. We’ve all seen carrots with forked roots – this usually is due to the tender root hitting something it cannot grow through so it moves off at an angle. The soil should be of average fertility and the plants should be mulched to keep the soil moisture even.
Plant frequently
Planting every two or three weeks will keep you in carrots and beets all season. My favorite beet is Chioggia, an Italian beet that is creamy white or pink with dark rings. The best feature is that these beets will stay tender all season, not becoming woody as some beets do when left in the ground.

And now for the soup:
Winter Root Vegetable Soup

You really can use any combination of vegetables. Vary the flavors with different combinations and add herbs to give you further nuances of flavor. This soup is creamy, savory and slightly sweet, an amazing comfort on a cold winter evening.
Use one cup of vegetables for each serving. This recipe serves 6-8 although you can cut it half easily. It also freezes well.
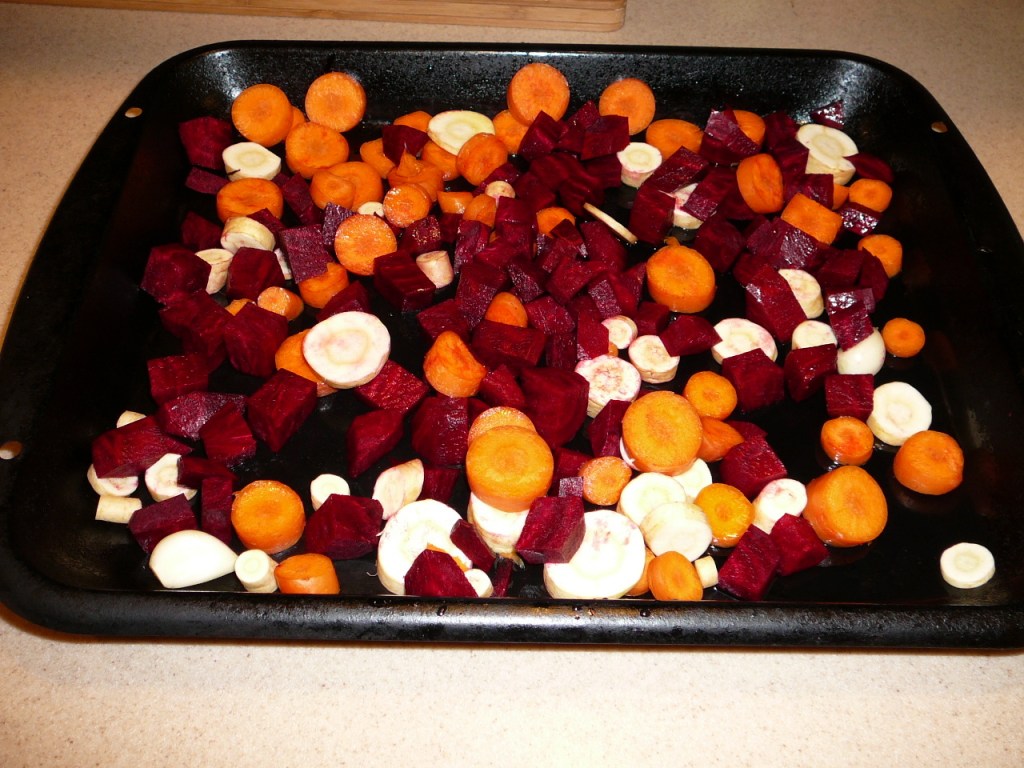
6-8 cups root vegetables (any combination of carrot, beet, parsnip, rutabaga, turnip, salsify, celery root, sweet potato, butternut squash) cut into ½ inch pieces
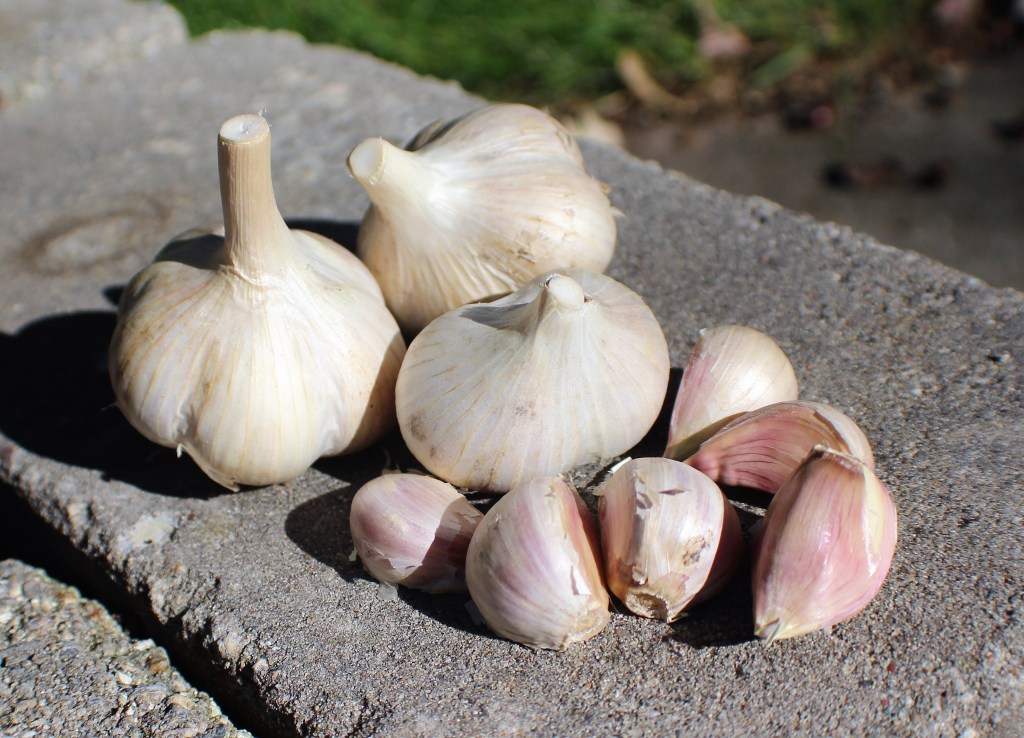
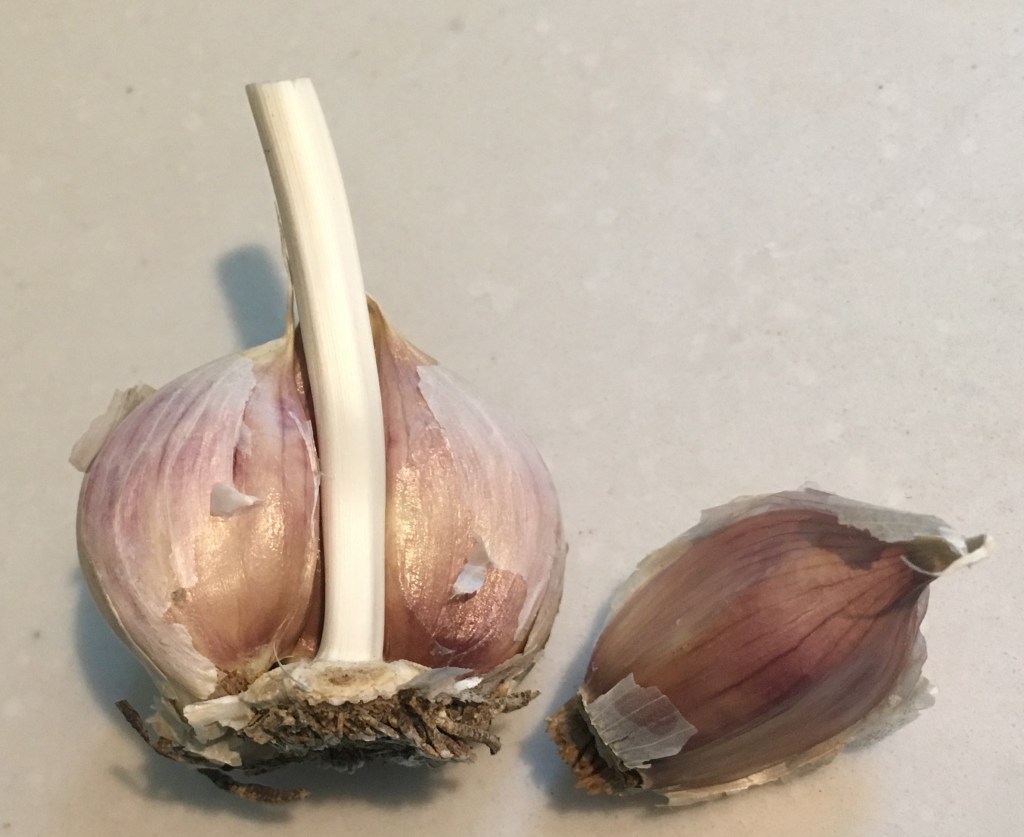
2 cloves garlic
¼ c. olive oil
1-2 t. salt as needed
¼ – ½ t. fresh ground black pepper (to taste)
1 small sweet onion, diced
2 stalks celery, diced
1 quart chicken or vegetable broth
½ t. dried or 1 T. fresh herbs of choice – basil, oregano, thyme, rosemary
Preheat oven to 400 degrees F. In a low-sided broiler or jellyroll pan, place vegetables and drizzle with about two tablespoons of olive oil. Roast in a preheated oven for about 30 minutes, stirring occasionally until all vegetables are tender when pierced. Sprinkle with salt immediately upon removing from the oven.

While vegetables are roasting, in a large pot over medium heat, saute onions and celery in the remaining olive oil, stirring until the onions are translucent. Add pepper, herbs and stock. Bring to a simmer. Stir in roasted vegetables and heat through. Puree with an immersion blender or in small batches in a food processor or blender. If soup is too thick, thin with water, more broth, or creamy it up with half and half or coconut milk.
Ladle into bowls, grate fresh pepper on top and drizzle with fruity olive oil. Serve with crusty, rustic bread and a crisp cabbage salad.


You must be logged in to post a comment.