I’ll admit that as much as I love to cook, there are plenty of times when I’m just too exhausted to spend the energy to figure out what to cook, find a recipe and gather ingredients. But I have to eat.
I hope to provide simple recipes that avoid the tyranny of long lists of ingredients and extended prep times. Nothing is more discouraging than looking at a tasty recipe and realizing that it has 23 ingredients, many of which you’ll need to go out and buy. Five ingredients make a much less daunting proposal.
You may be an expert cook who is comfortable in the kitchen and can improvise on most recipes. But most of us are novices in some way, so my recipes are basic, with only a few ingredients. Then you can add whatever you have on hand.
Here are a few suggestions for quick meals that are as simple as possible.
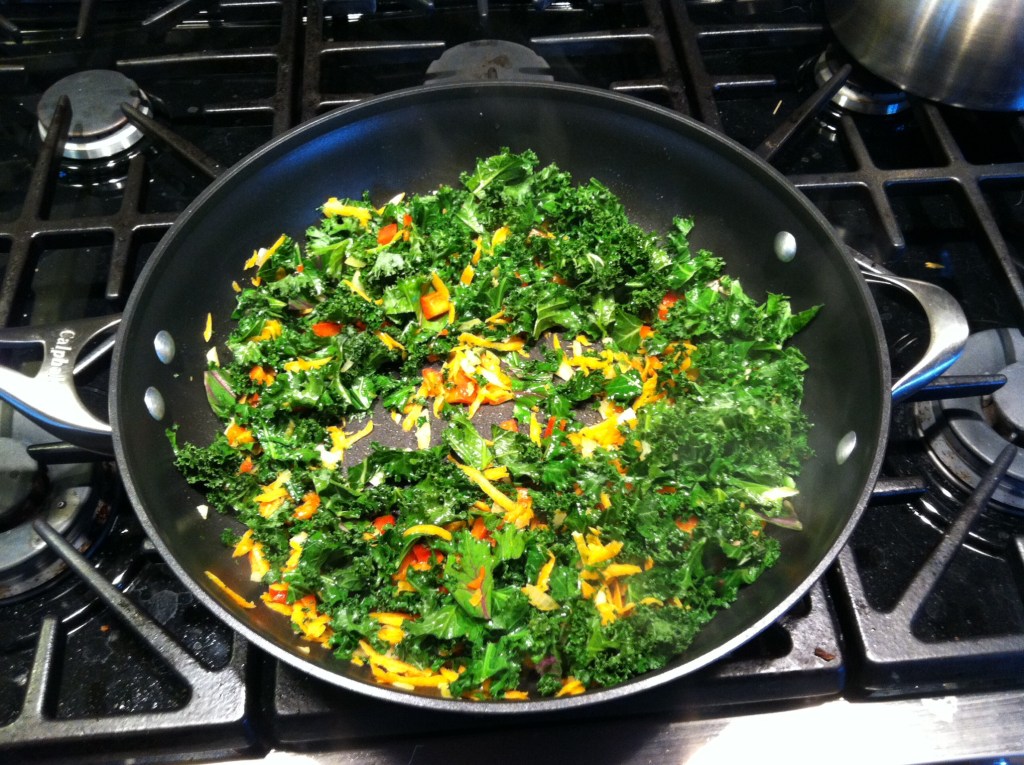
–Saute whatever vegetables you have in the fridge (even lettuce) and toss into scrambled eggs with cottage cheese. My faves are shredded cabbage and leftover mashed potatoes.
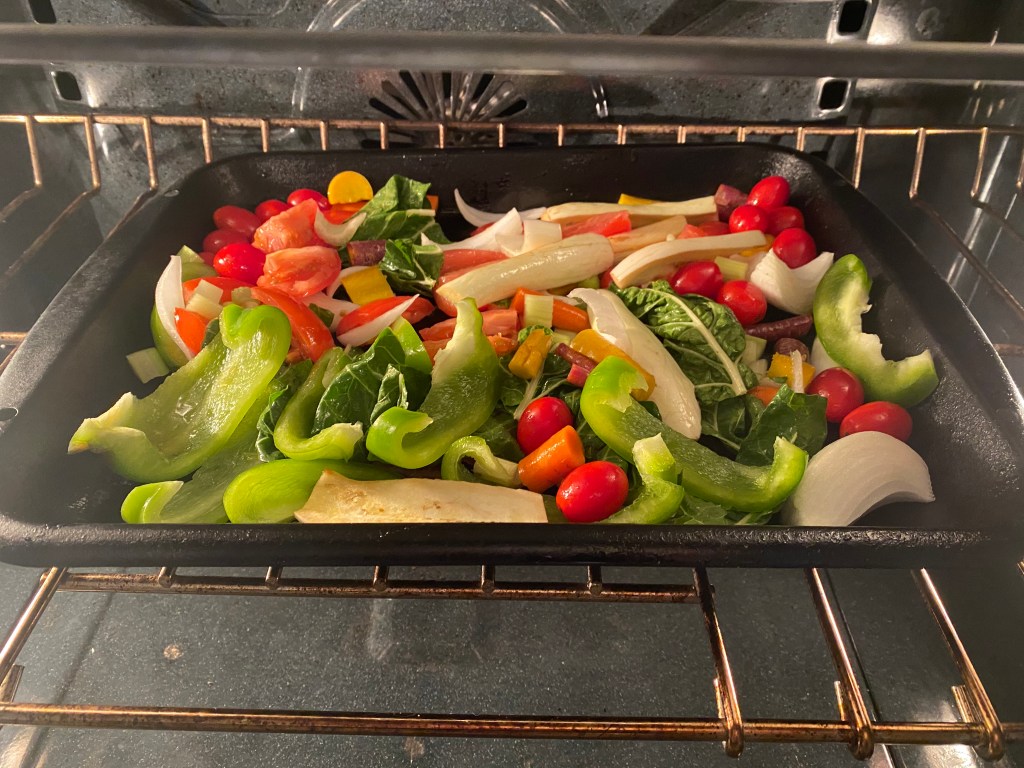
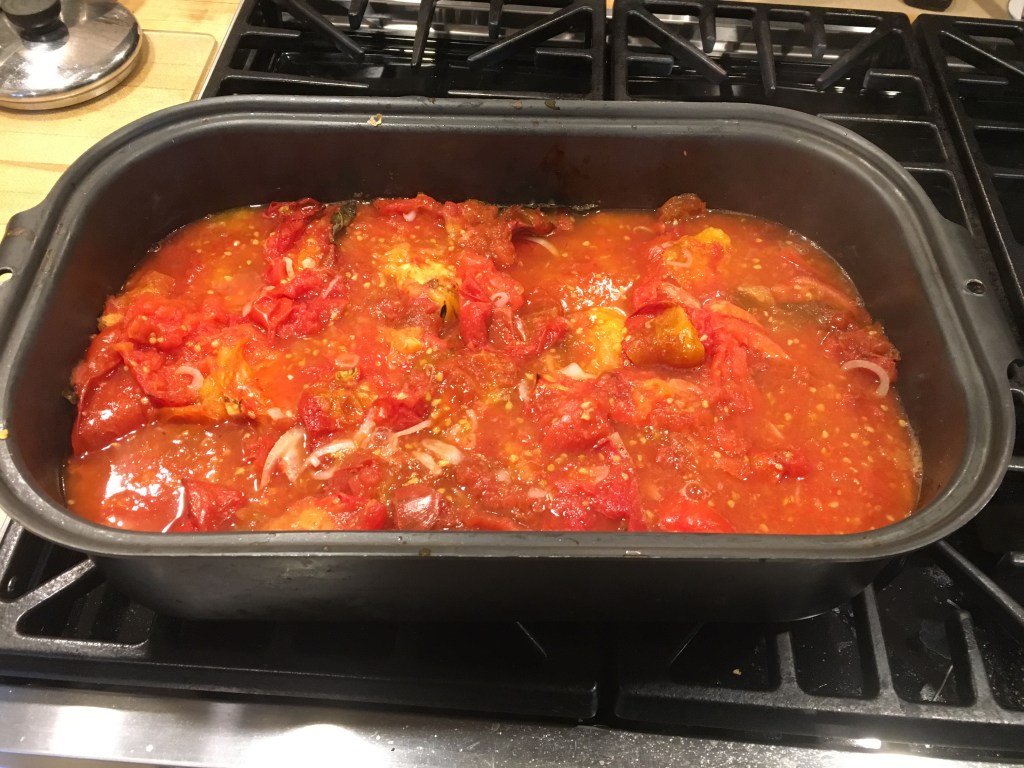
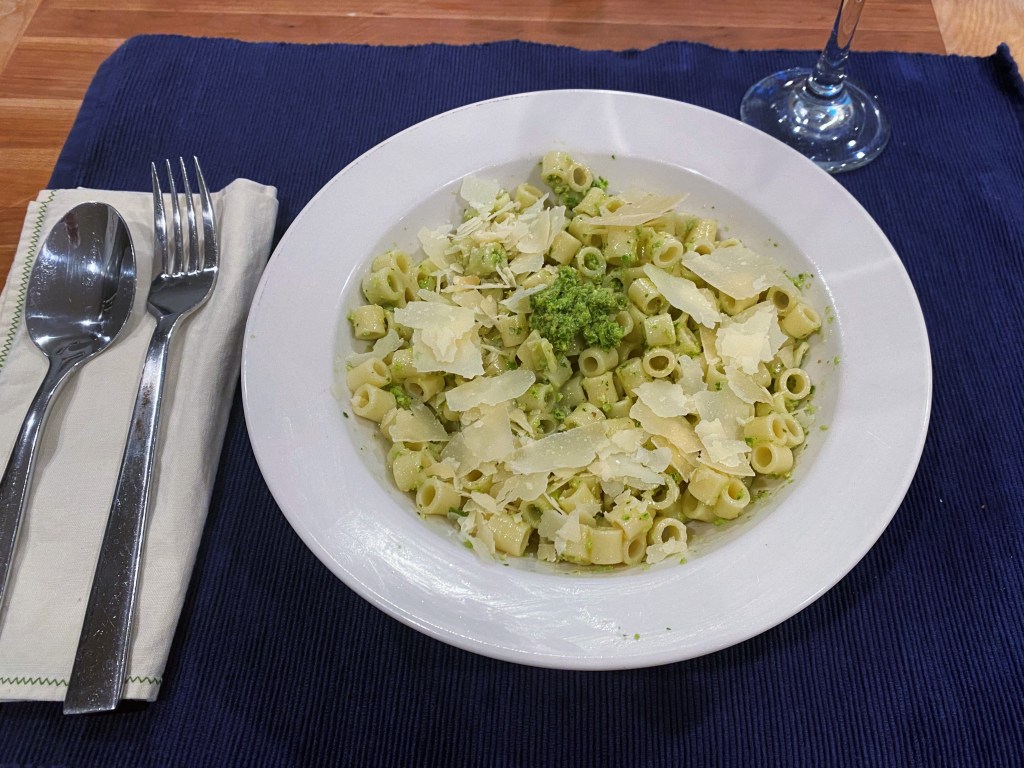
–Toss chopped vegetables (tomatoes, broccoli, garlic, onions, carrots, zucchini…) with olive oil and roast in a 375 oven until tender and a bit caramelized. Season to taste (garlic powder, Italian seasoning, harissa, etc.). Add to hot pasta with parmesan.

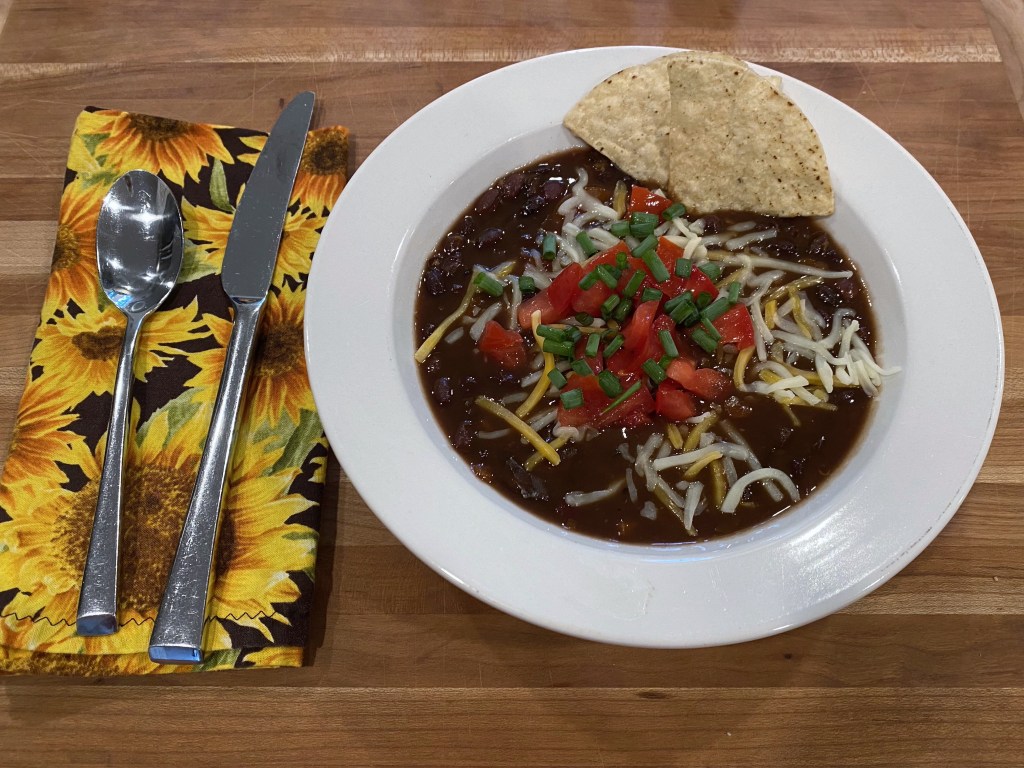
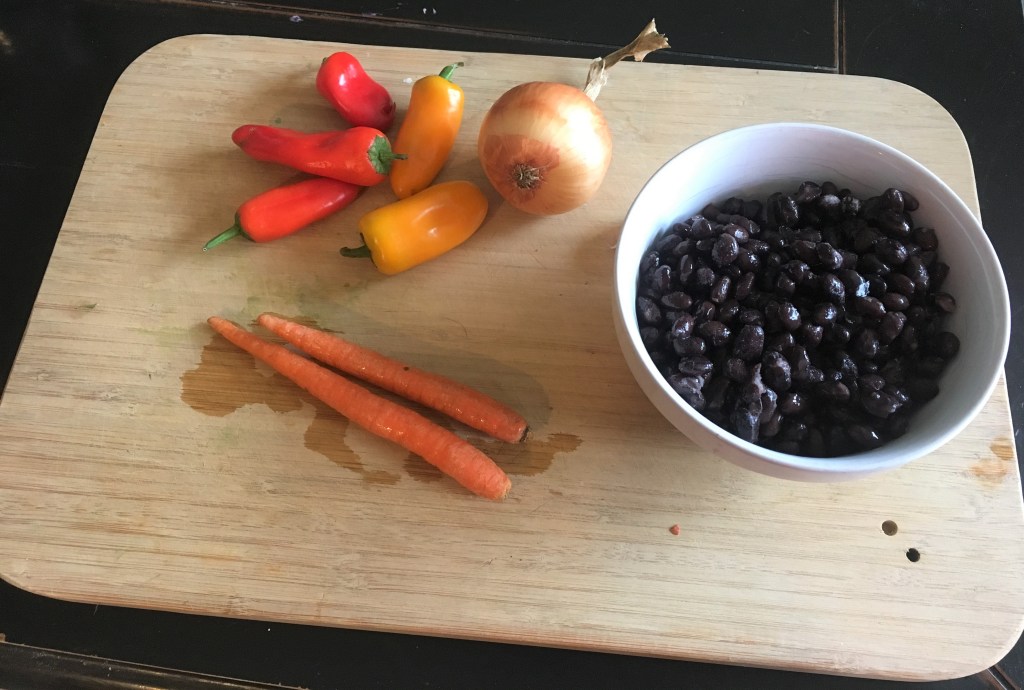
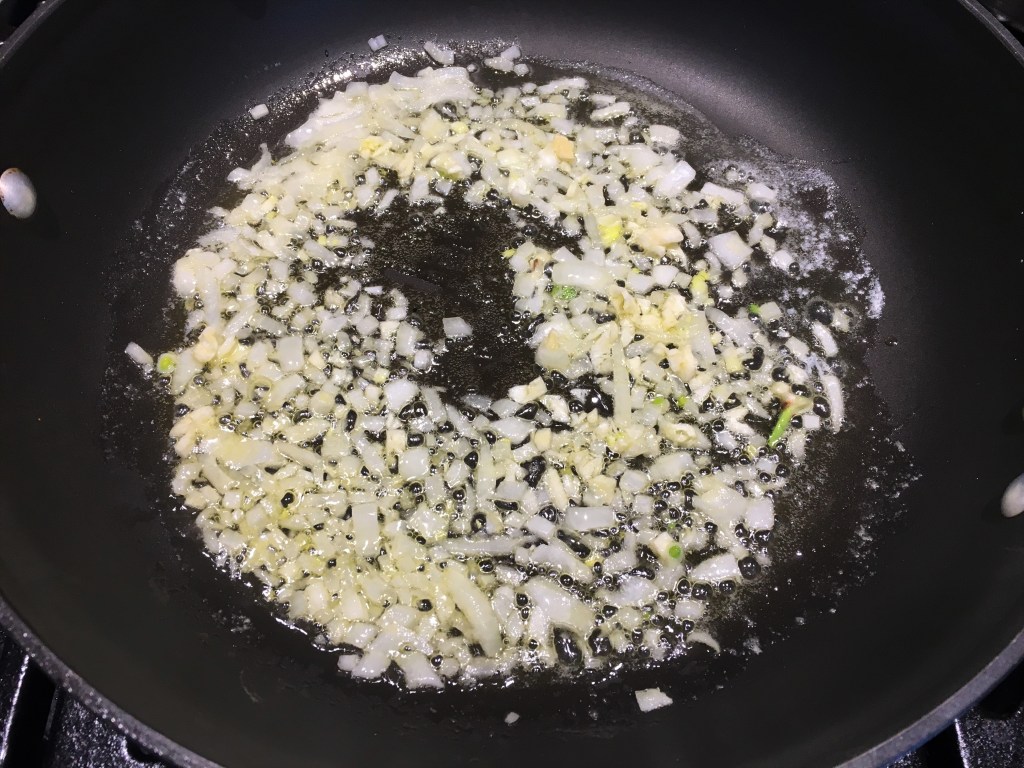
–Open a can of black or pinto beans and add to a medium saucepan (with some of the bean liquid). Season to taste with garlic powder, onion powder, cumin, and heat gently. Mash the beans and spread on tortilla chips, sprinkle with grated cheese and broil until the cheese melts. Instant nachos with extra protein. Serve with salsa, chopped tomatoes, lettuce and whatever else sounds good.

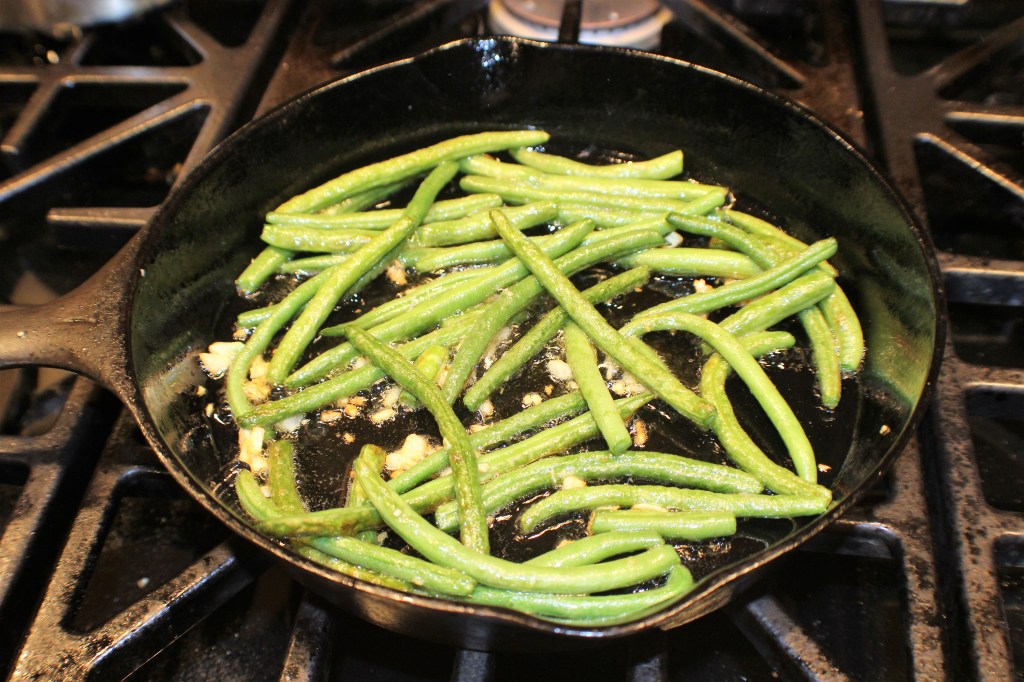
–Green beans – as soon as you get home from the market, top and tail them and cook for 5 minutes in boiling salted water. Then, when you want to eat them for dinner, blister them with minced garlic by sauteeing them in a hot pan filmed with olive oil – only 5 minutes. Serve as a side or add to cooked rice for a main dish.
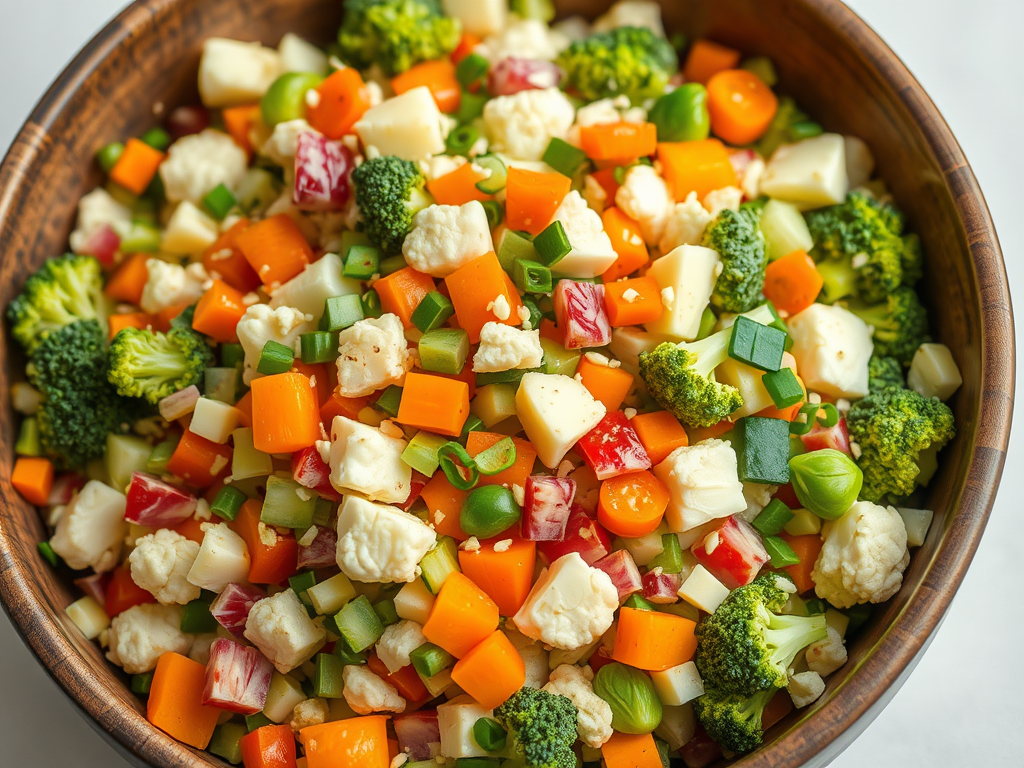
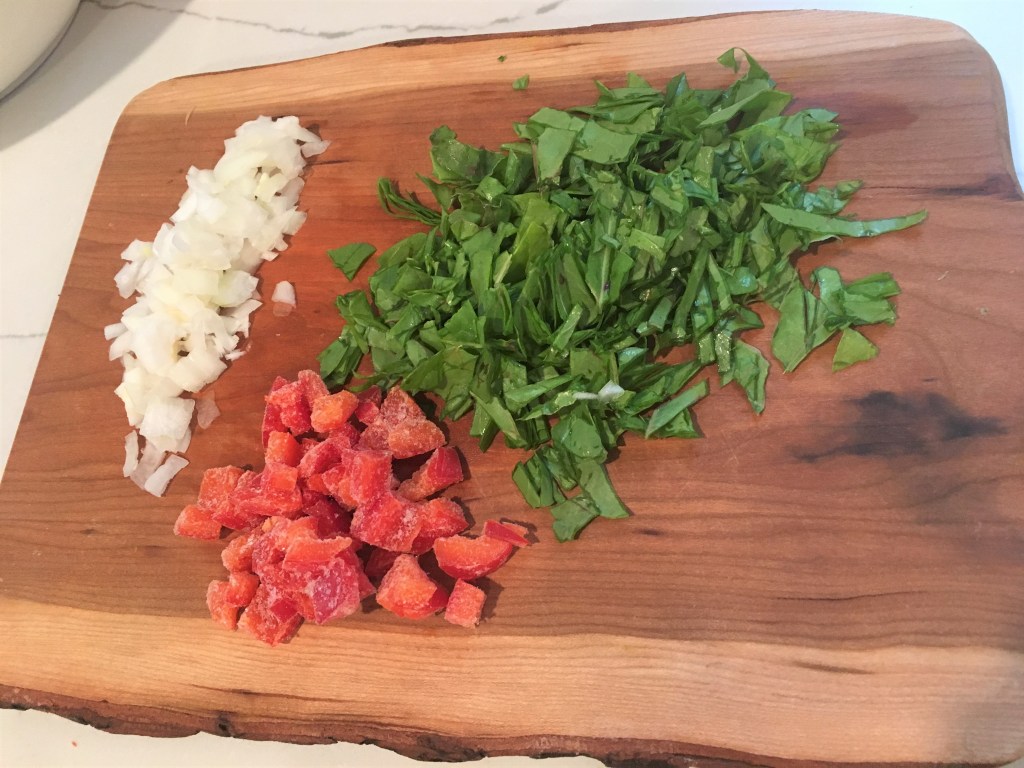
–Chopped salad – make a base of finely chopped vegetables – broccoli, cauliflower, brussels sprouts, sweet peppers, carrot – any vegetables that will hold up for a few days. Don’t dress until ready to eat. Add ephemeral vegetables like cucumbers and tomatoes at the last minute to keep them fresh.
–Cabbage – keeps a long time so keep one on hand and you have an instant salad by slicing it thinly and dressing it with a vinaigrette.
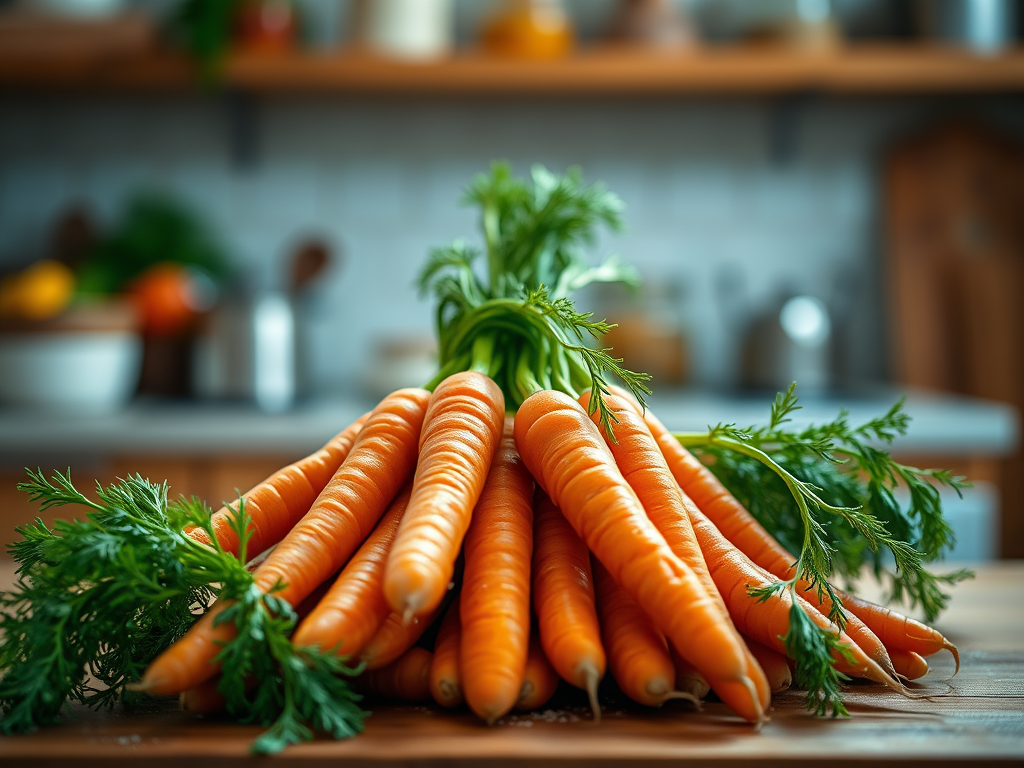
–Carrots – also keep a long time and are delicious for snacking or lightly steamed or roasted. Mix with cooked rice for a delicious side dish.
–Fast noodles – keep ramen on hand and cook according to the package (without the flavor packet). They take about 3 minutes. Add absolutely anything to them for an instant meal. Roasted vegetables, leftover protein of any kind, cheese, scrambled egg. You can dress them with miso, soy or hoisin sauce for an Asian take. Add shredded carrots, chopped celery and shredded bok choy.


You must be logged in to post a comment.