Figs

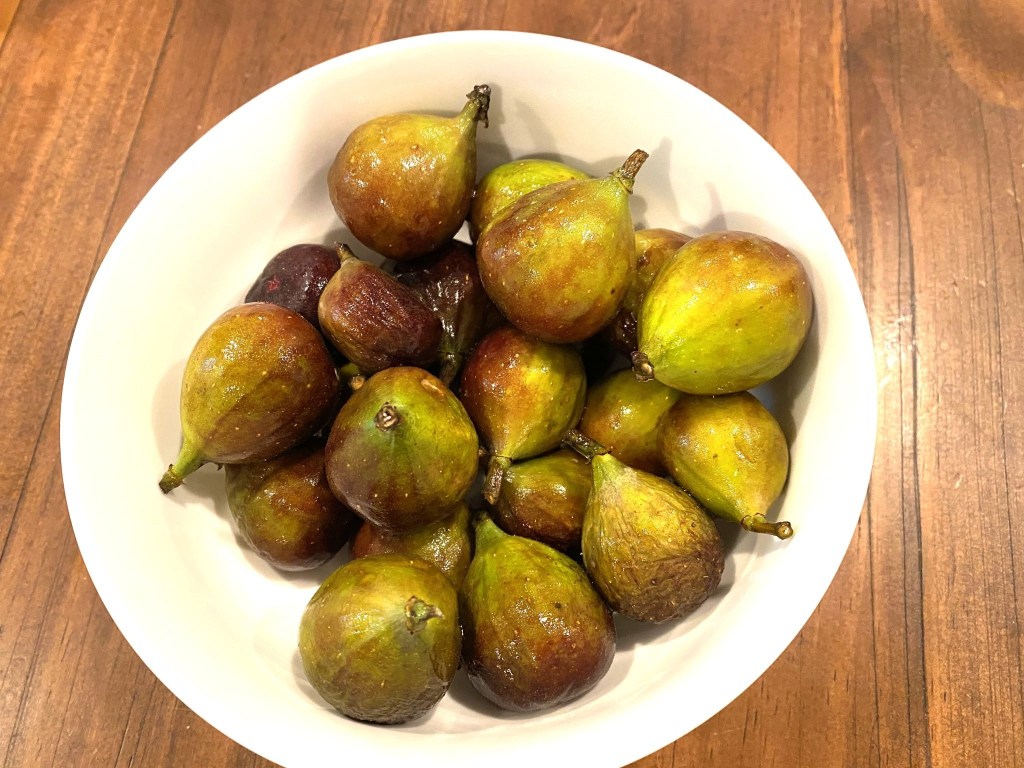
There is nothing like tasting a fig straight from the tree, sun-warmed and tender. You can eat the whole of it. The whole thing. The skin, the purple flesh, the seeds. Divine. Eat the whole fig, that’s my advice. And take it from the tree, right in that moment, when you get the chance.

My fig tree died back to the ground this year (again), so I knew I’d have to visit the farmers market for the figs I love. But to my surprise, it resprouted (again), and I have figs!

Okay, only five, but I’ll take them happily.

Several years ago, I gave my parents a fig tree that we carefully packed into the back of their car to travel home to Texas from Wisconsin.  Despite the car smelling like cat urine the entire trip (yes, that’s what fig trees smell like), they proudly planted it and have had buckets of figs every year since. 

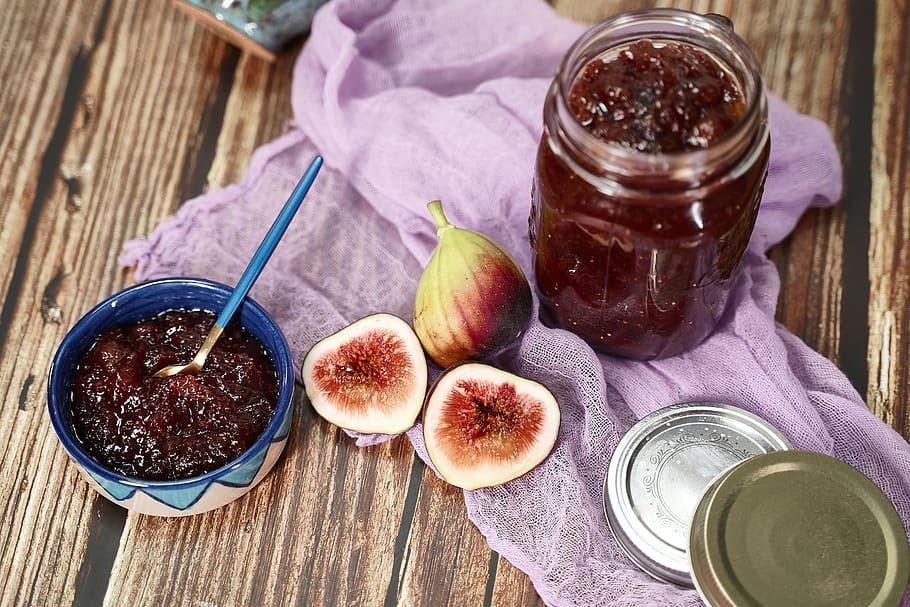
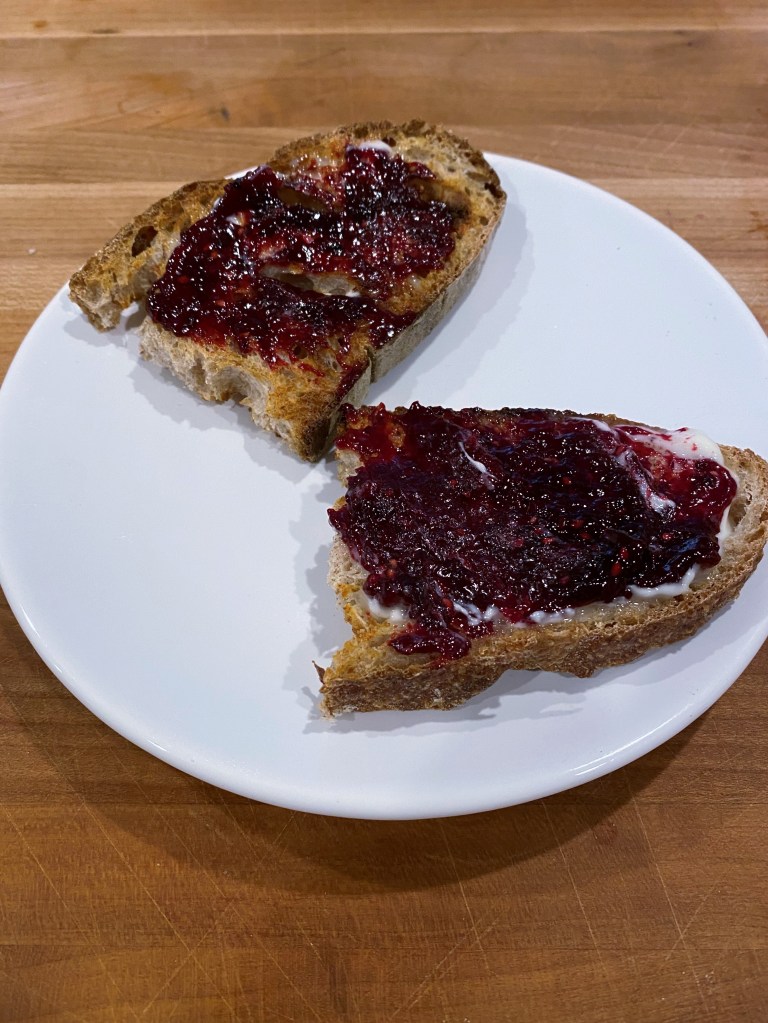
My mother made homemade fig newtons, which were delicious but quite time-consuming. The first step is to make fig jam, wrap it in cookie dough, and bake. Frankly, I’m just happy with the jam, so I never get to the newton part. I will happily spread it on anything. Homemade fig jam, butter or not, on a warm biscuit is to die for. 

1½ pounds fresh ripe figs (about 20–24 medium figs), stems removed and quartered

⅓ c. sugar (adjust depending on sweetness of the figs)

2 T. lemon juice

1 t. finely grated lemon zest

¼ t. cinnamon (optional)

Pinch of salt

1 t. vanilla extract

Combine all but the vanilla in a saucepan. Cook over medium-low heat for 30–45 minutes, stirring often, until the figs have broken down and most of the liquid has evaporated.

Mash with a potato masher or purée briefly with an immersion blender if you prefer a smoother jam.

Stir in the vanilla and continue cooking until the mixture is very thick—it should mound on a spoon and not run. Cool completely before using. If it’s still too loose, refrigerate it for an hour to firm up. The preserves will keep in the refrigerator for several weeks. To keep longer, freeze. And please try them on a warm biscuit.

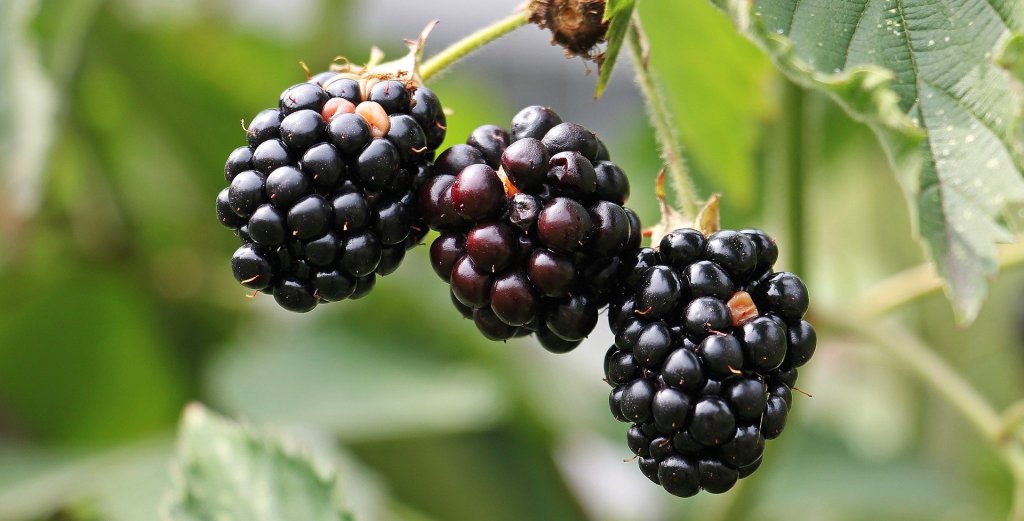
Blackberry jam

I collected blackberries along my walking trails late last summer and froze them for use later. Since they are getting ready to bloom this spring, I figured it is time to make jam. 

I do this frequently – collect or purchase fruits when they are ripe in summer and if I don’t have time to make jelly or jam, I will freeze it until I do have the time. It actually makes a wonderful winter project. Not to mention, lovely holiday gifts. 

Freeze summer fruits

Photo by S. Hermann & F. Richter from Pixabay 

It’s important when freezing fruit for jam that it be washed and prepared because you won’t be able to do it once it thaws since it will be very soft. If it is cut, peeled if necessary, and ready for cooking, all you have to do is toss it in the pot, prepare your jars and get busy.

Blackberry jam from wild berries has a flavor that is so much more satisfying than commercially made jam. And, making jam is fairly easy to do once you get past the stigma that it is labor intensive. All it really takes is a bit of patience. 

Pectin or not?

Blackberries have plenty of naturally occurring pectin (so do currants, raspberries and apricots) so you don’t have to add commercial pectin to make your jam jell. In general, jams and jellies made with commercial pectin are more foolproof, but they also require more sugar. 

To seed or not to seed

Wild blackberries can be somewhat seedy, so your jam will be more palatable if you remove some seeds. No, you don’t have to pick them out. If you cook down your berries until they are soft and then run through a food mill, you will remove about half the seeds. If you really want a seedless jam, you’ll need to push the pulp through cheesecloth and you will lose a good bit of pulp in the process. 

Blackberry Jam

8 cups blackberries

4 cups sugar

½ c. water

Place the berries in a large pot and cook over medium-low heat about 20 minutes until the berries are very soft. You can mash them up a bit to help them release their juice. 

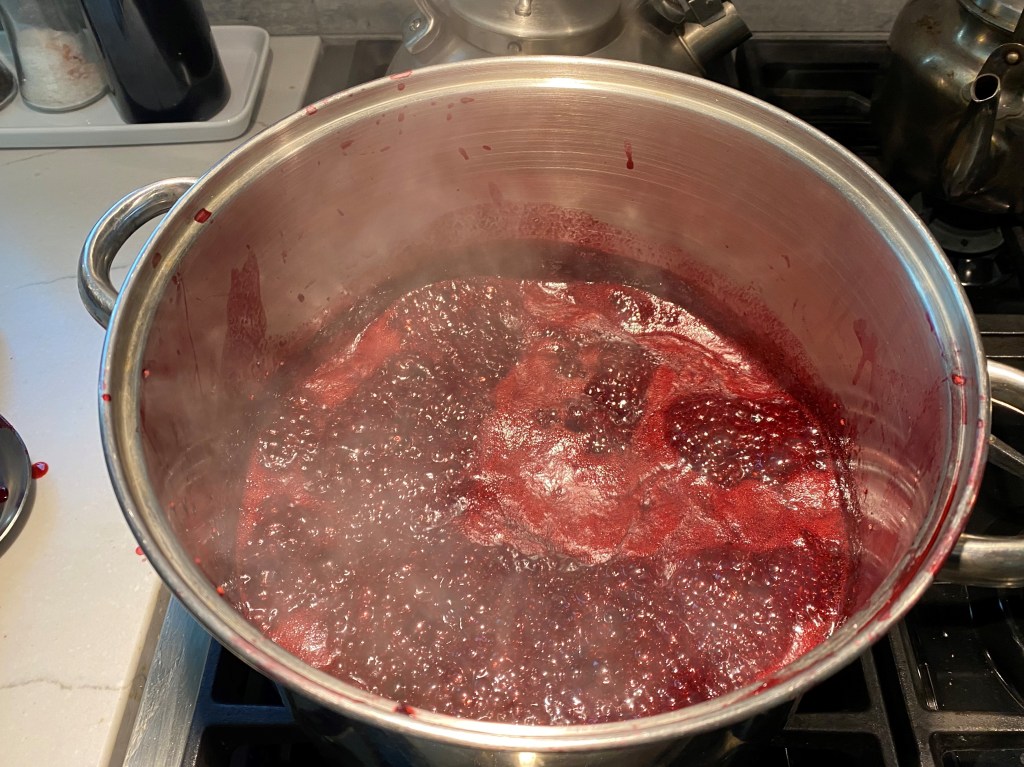
Run the berries through a food mill. Measure your pulp, return to the kettle and add the same amount of sugar. Put a ceramic saucer in the freezer (I’ll explain in a minute). Stir and cook over medium heat until the jam thickens. To test for thickening, take a spoonful and drip it onto your frozen saucer. This cools the jam very quickly and you can tell how thick it will be when finished. When it doesn’t run when you tip the saucer, it’s ready. 

Take the jam off the heat, skim off any foam (I like to save this in a jar for my toast – tastes just as good as the jam, just not as pretty). Ladle into clean, sterilized jars leaving about half an inch of headroom. Seal with hot flats and bands and put in a boiling water bath for 10 minutes. Remove to a cutting board to cool. And get an immense amount of satisfaction as you hear the pings of your sealing jars.