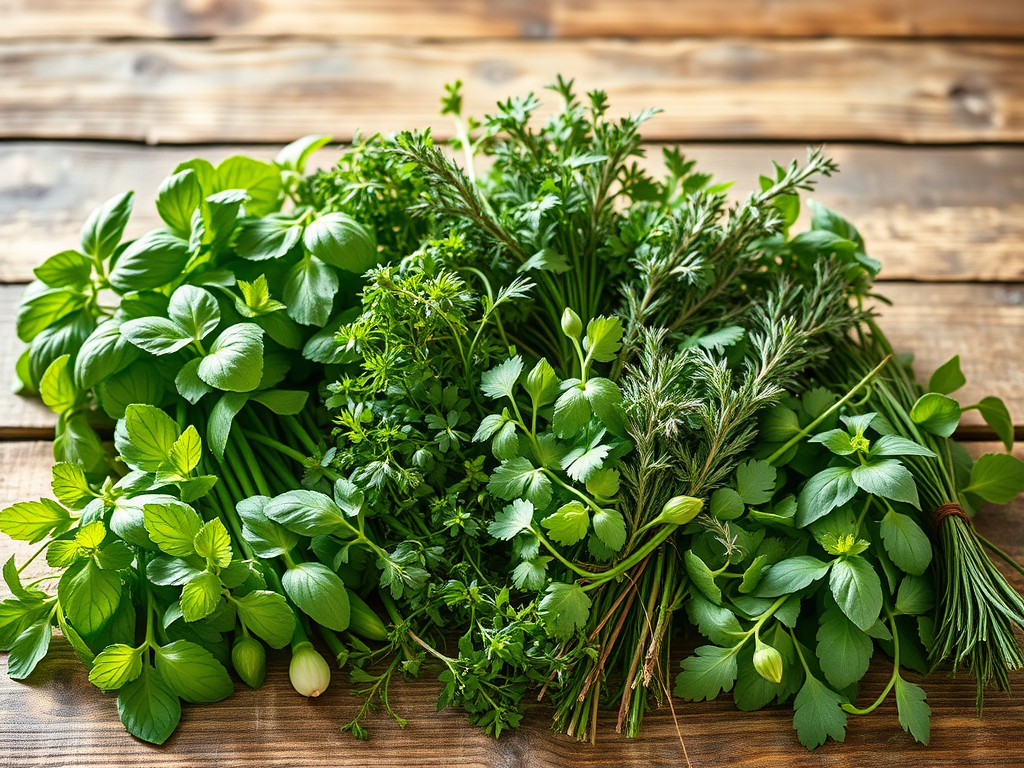
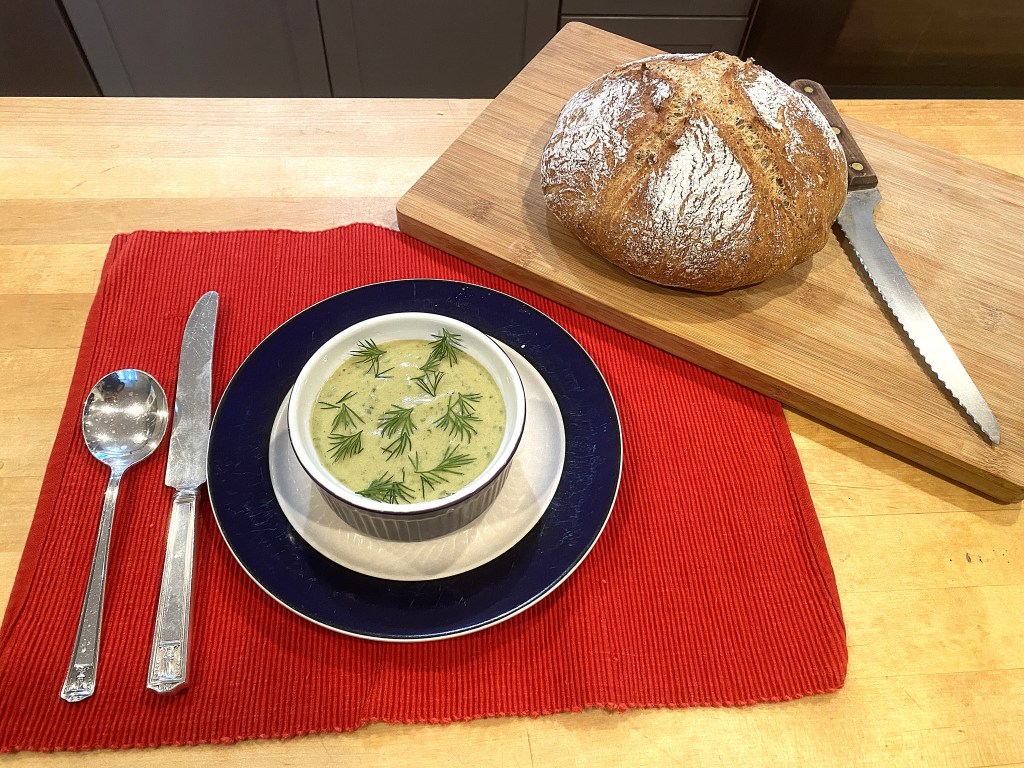
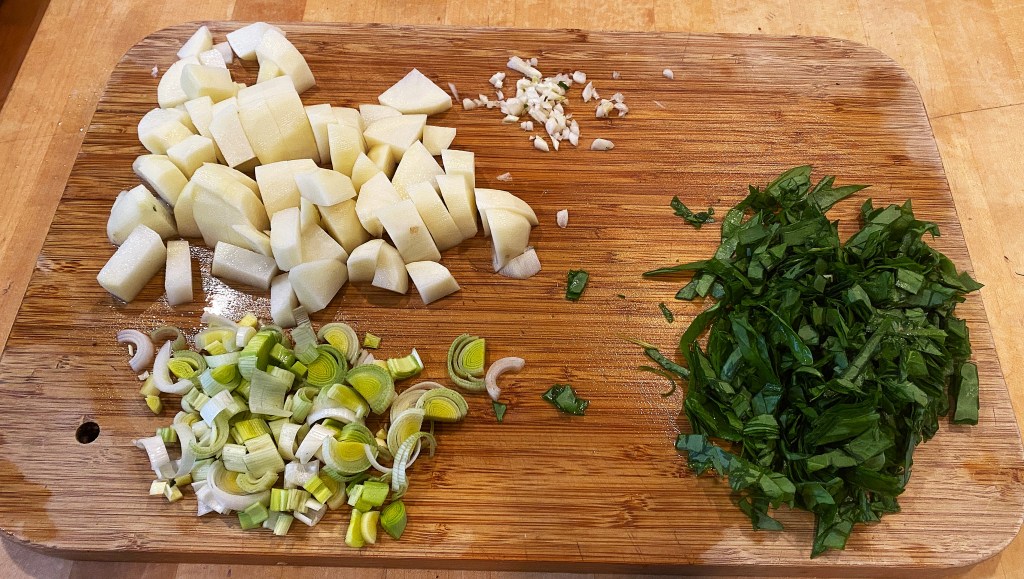
It’s the time of year to celebrate herbs. They are coming in at a crazy pace, so I have my dehydrator running almost non-stop. Fresh and freshly dried herbs and herb mixes add special nuance to freshly prepared foods that will take your cooking to a new level. And they are so easy to grow.

Basil
Delicious when used fresh in pesto. The pesto can be frozen for a burst of flavor all winter (freeze in ice cube trays). Be sure to try lemon and cinnamon basil for a new take on pesto. Dried basil is a staple for chicken soups and stews, and on roasted potatoes.
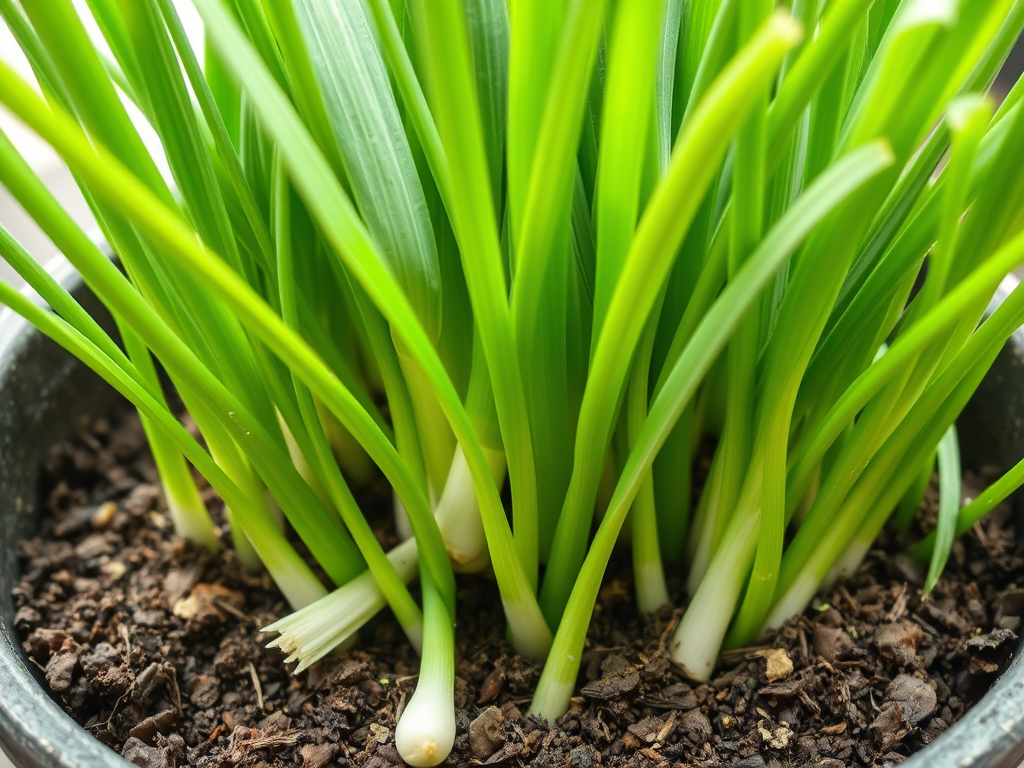
Chives
Chives add essential freshness to salads, potatoes, and even stir-fries. Don’t be tempted to dry them as they usually end up tasting like grass with onion overtones. Instead, chop them fresh and put them in the freezer. They will keep their spring flavor.

Cilantro
Lovely fresh addition to salsas and soups, but unfortunately, there’s not much you can do to preserve it. I’ve tried dehydrating, freezing in water, and freezing in oil. None of these methods preserves the flavor. You’ll just have to rely on the grocery or grow some on your windowsill.

Marjoram
A very floral but quite strongly flavored cousin to oregano. It is an essential component of Mediterranean herb mixes. It’s a delicate plant, and I find it hard to grow enough to preserve. I rely on my local coop, where I can buy in bulk to make my mixes.
Oregano
I have a love-hate relationship with oregano. It is too strong for my tastes. However, it is still a main ingredient in Italian and Provençal herb mixes. So, I do dry it.
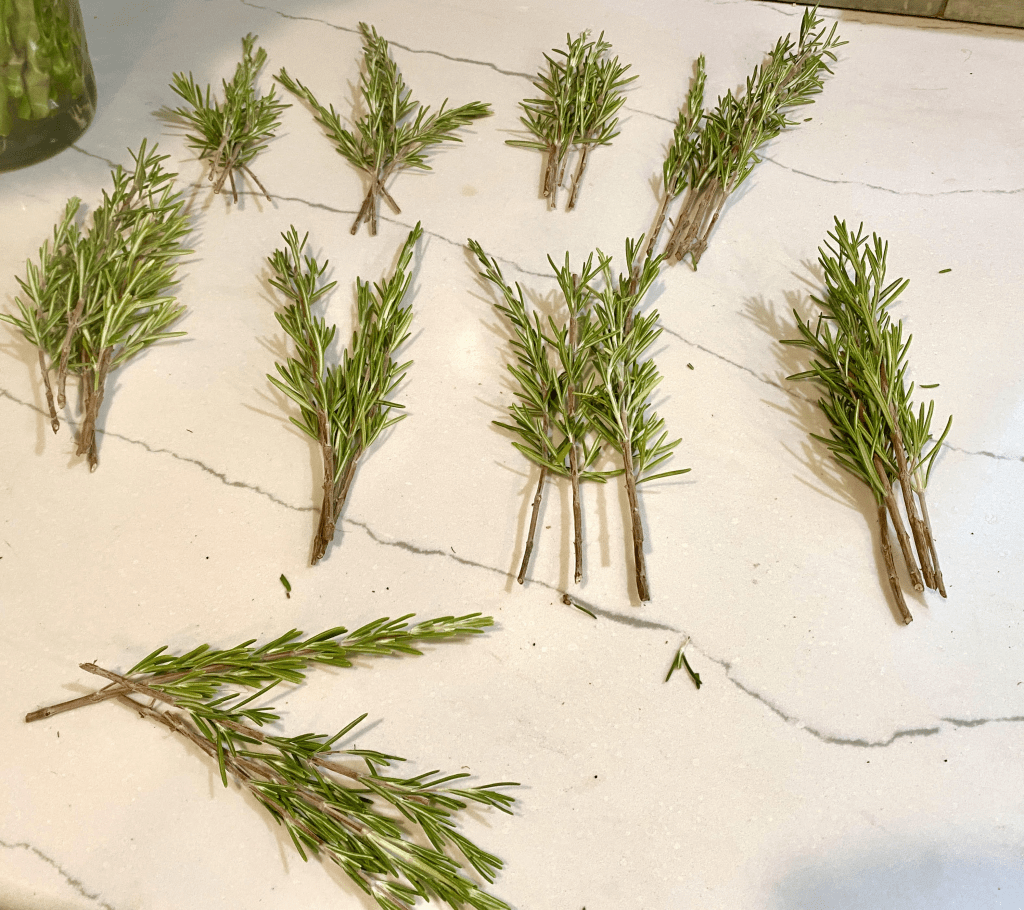
Rosemary
Its scent instantly makes my mouth water for roasted potatoes. It is a beautiful addition to focaccia, roasting meats, and green beans. If you dry it, pulverize it before using, or you will have a dish with hard little unpalatable sticks.
Sage
I dry some of this for herb mixes and Thanksgiving stuffing. Otherwise, it is pretty strong. Although I did discover fried sage leaves this year – a perfect accompaniment to roasted winter squash.
Thyme
Fresh thyme lends a lovely essence to vegetable and meat dishes; dried thyme is key in many marinades.
My favorite herb mixes:

Creole Seasoning – make dirty rice or season blackened fish
2 ½ T. paprika 2 T. salt 1 T. garlic powder 1 T. black pepper
1 T. onion powder 1 T. cayenne pepper 1 T. dried oregano 1 T. thyme
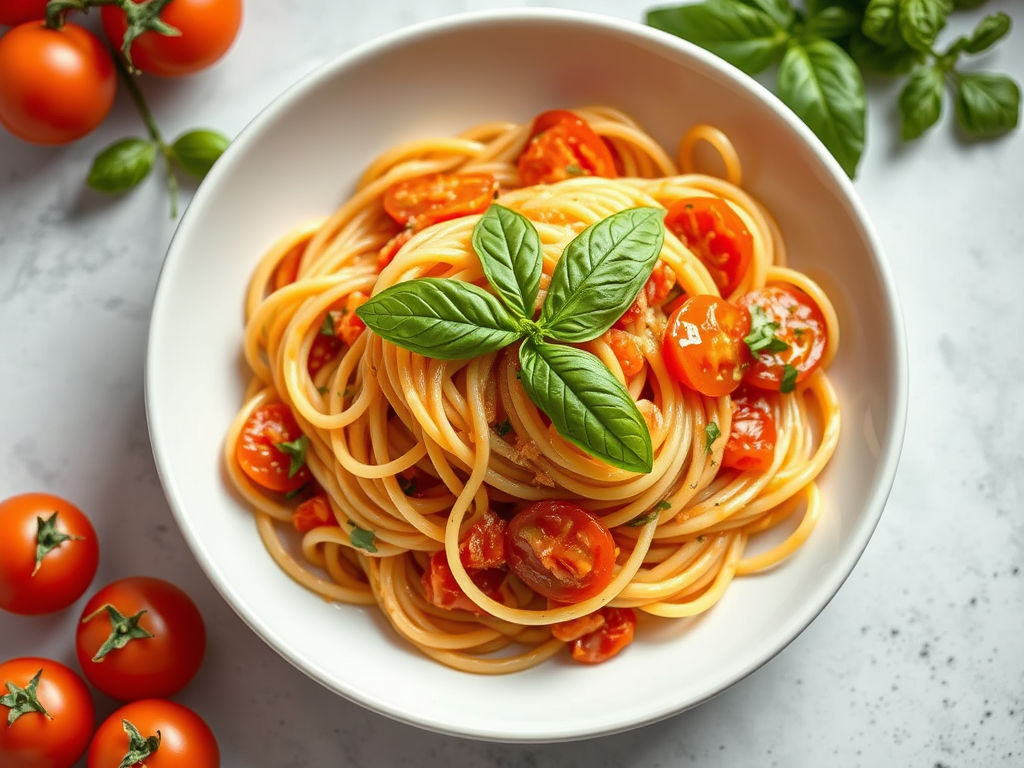
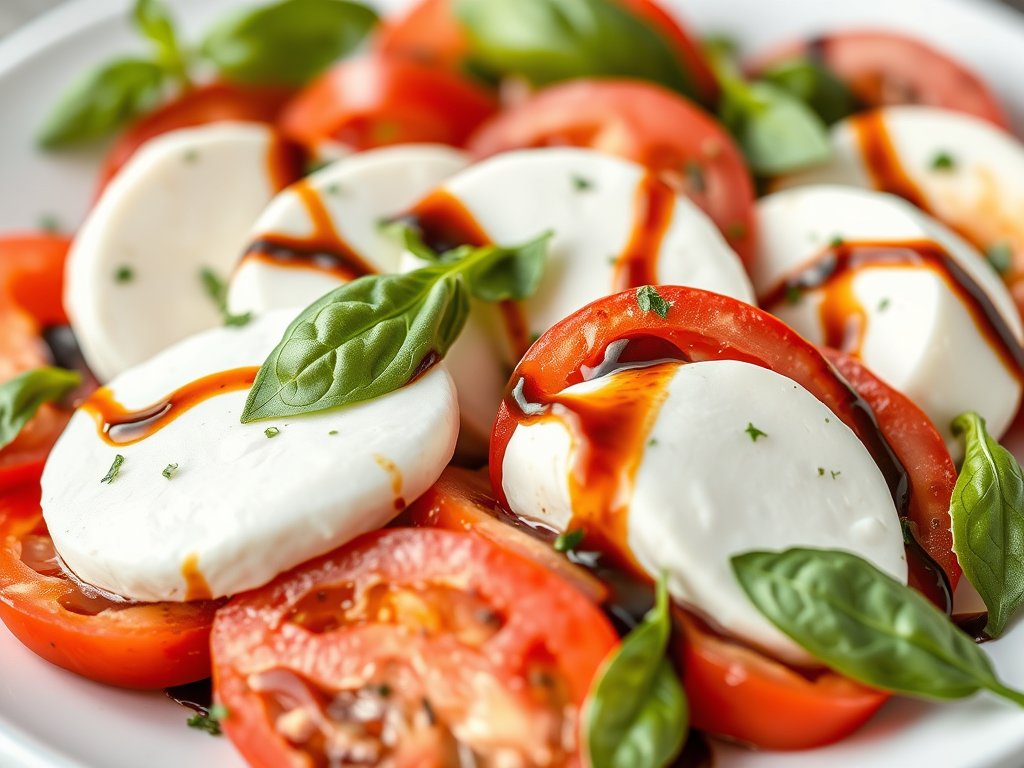
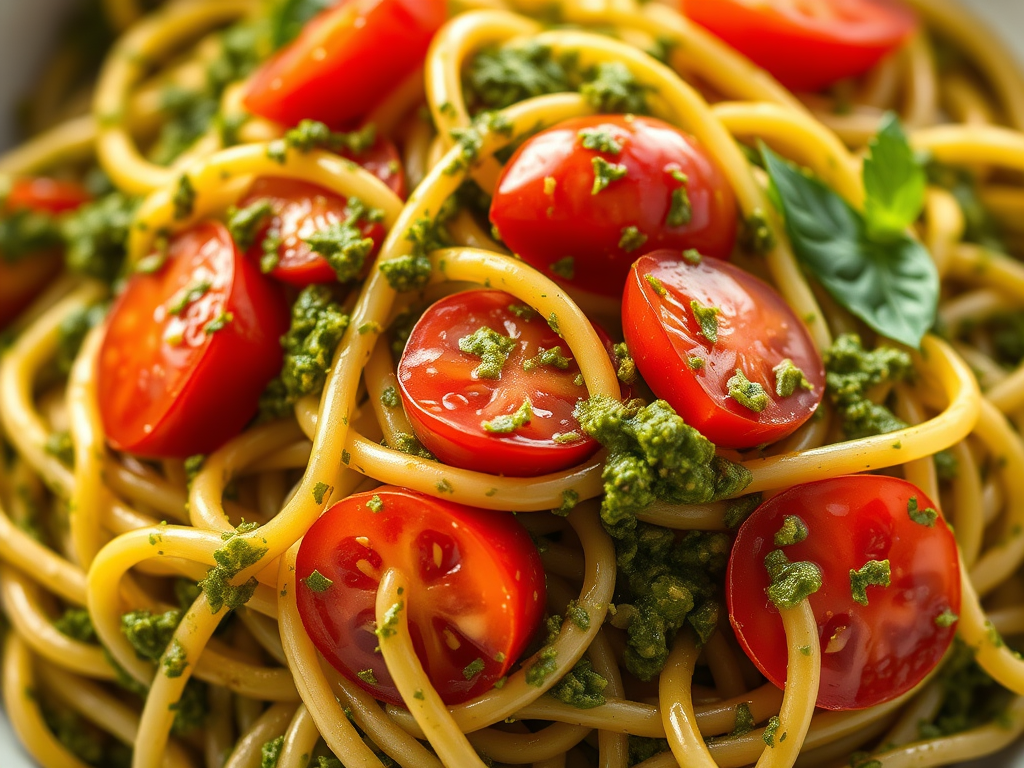
Italian – essential taste of Italy for spaghetti sauce or delicious on roasted potatoes
¼ c. oregano ¼ c. basil 4 t. garlic powder 4 t. thyme 4 t. rosemary
4 t. chili flakes 4 t. marjoram 4 t. paprika
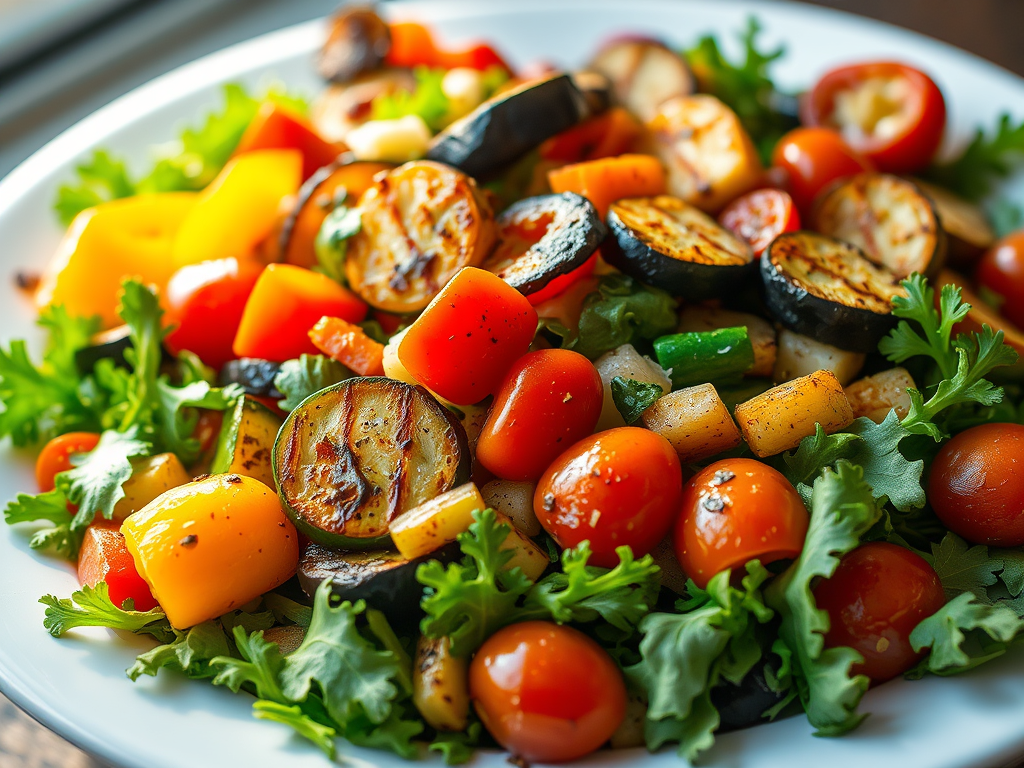
Mediterranean mix – marinate fish or roast potatoes and other vegetables such as eggplant, zucchini, green beans
1 T. garlic powder 1 T. basil 1 T. oregano ¾ T. salt ½ T. dill
½ T. onion powder 1 t. rosemary powder 1 t. black pepper 1 t. thyme ½ t. marjoram
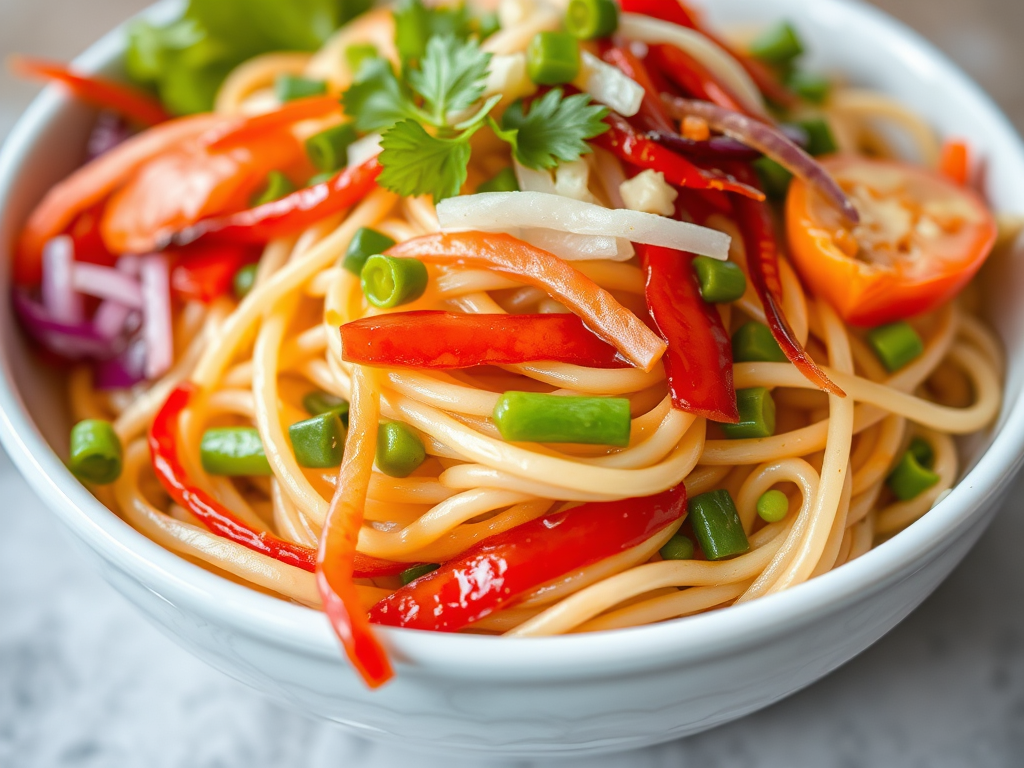
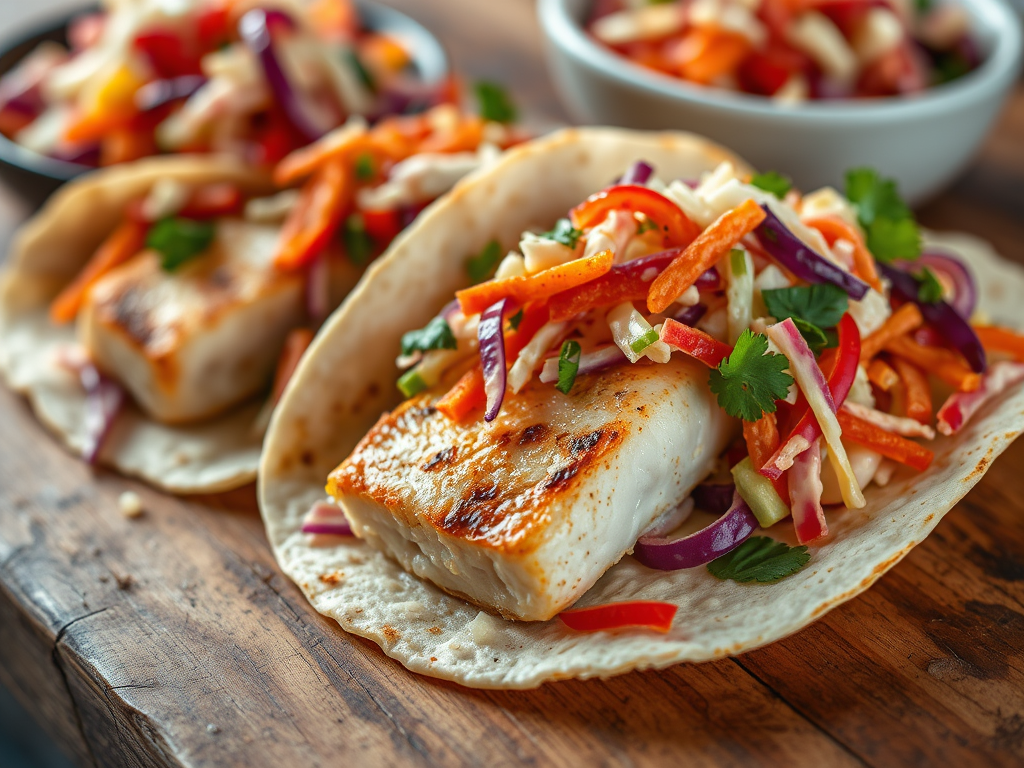
Mexican – excellent for tacos, burrito bowls, Mexican street corn
1 T. oregano 1 T. chili powder 1 t. cumin 1 t. coriander 1 t. bay leaf
1 t. paprika (smoked or plain) 1 t. onion 1 t. garlic powder 1 t. salt
Mint – delicious and unusual addition to fruit salads
1 T. mint 1 T. marjoram 1 T. tarragon 1 t. lemon balm 1 t. rosemary 1 t. chili flakes
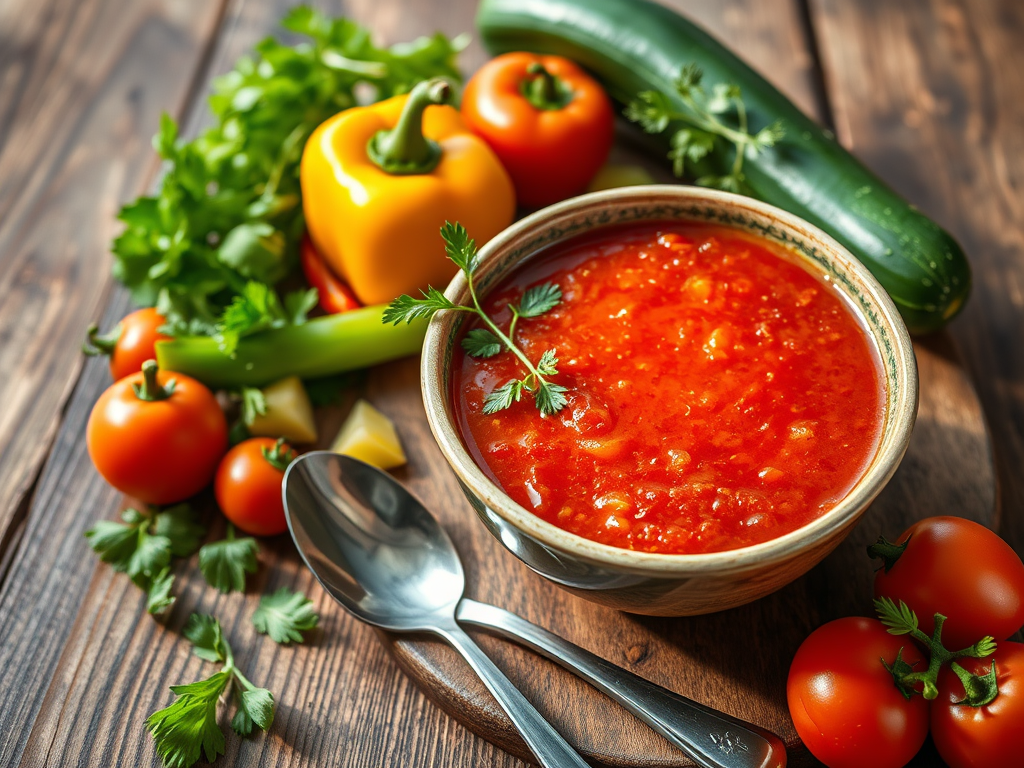
Ranch – use on fish, grilled potatoes, zucchini, and summer squash. Or mix into salad dressing
1 T. oregano 1 T. dill 1 T. ground black pepper 1 t. garlic powder 1 t. thyme


You must be logged in to post a comment.