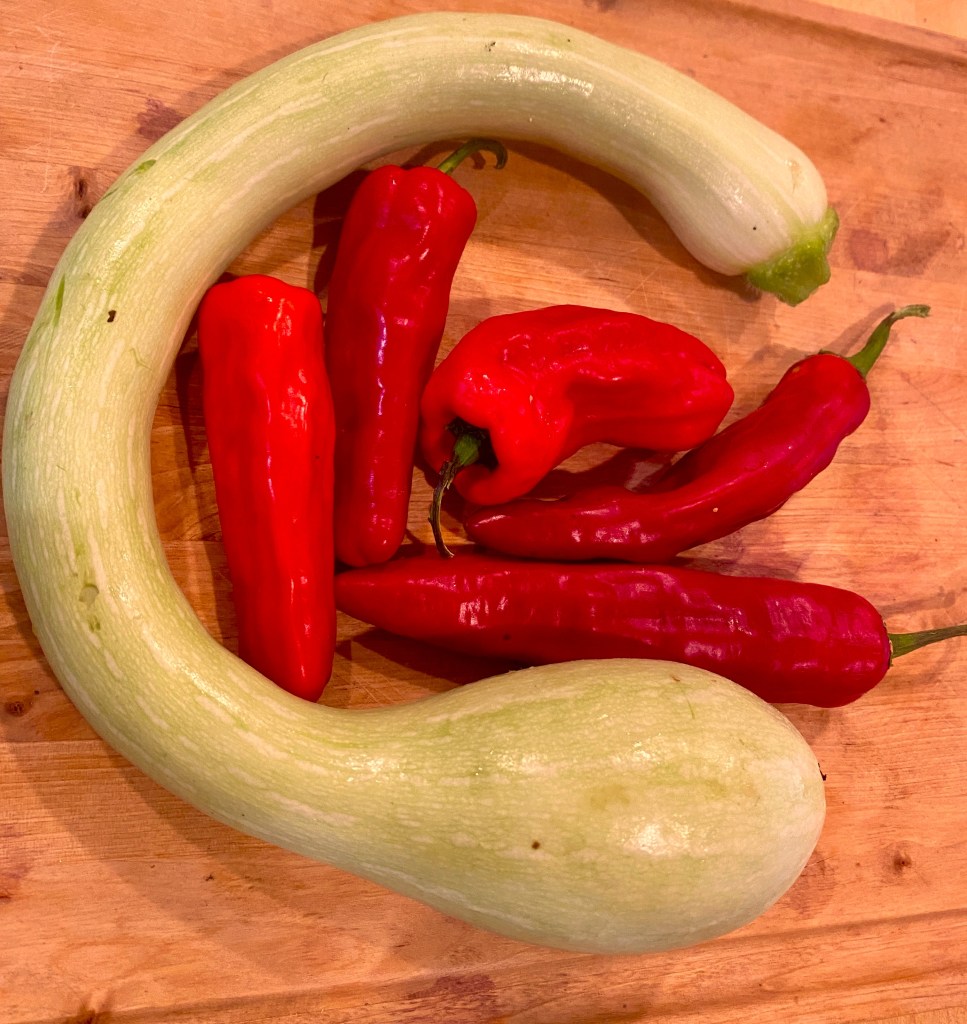
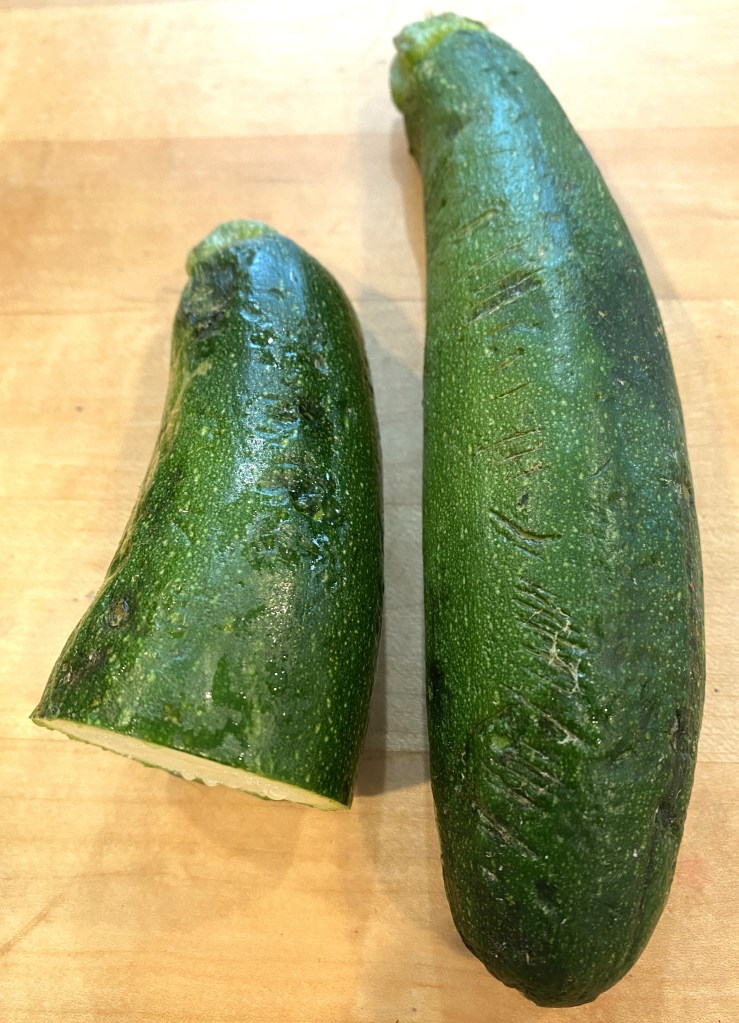
Zucchini is summer’s overachiever, but the best part is that it can do almost anything in the kitchen. From raw in a salad to sauteed to baked to stuffed to zucchini bread.. All are fair game. Here are a few ideas to help out if you are overrun, as I seem to be.

Raw
Zucchini ribbons – Use a vegetable peeler to slice into ribbons and then toss with olive oil, lemon juice and Parmesan cheese.
Zucchini sticks – slice into thick sticks and dip in hummus, tzatziki or salsa.
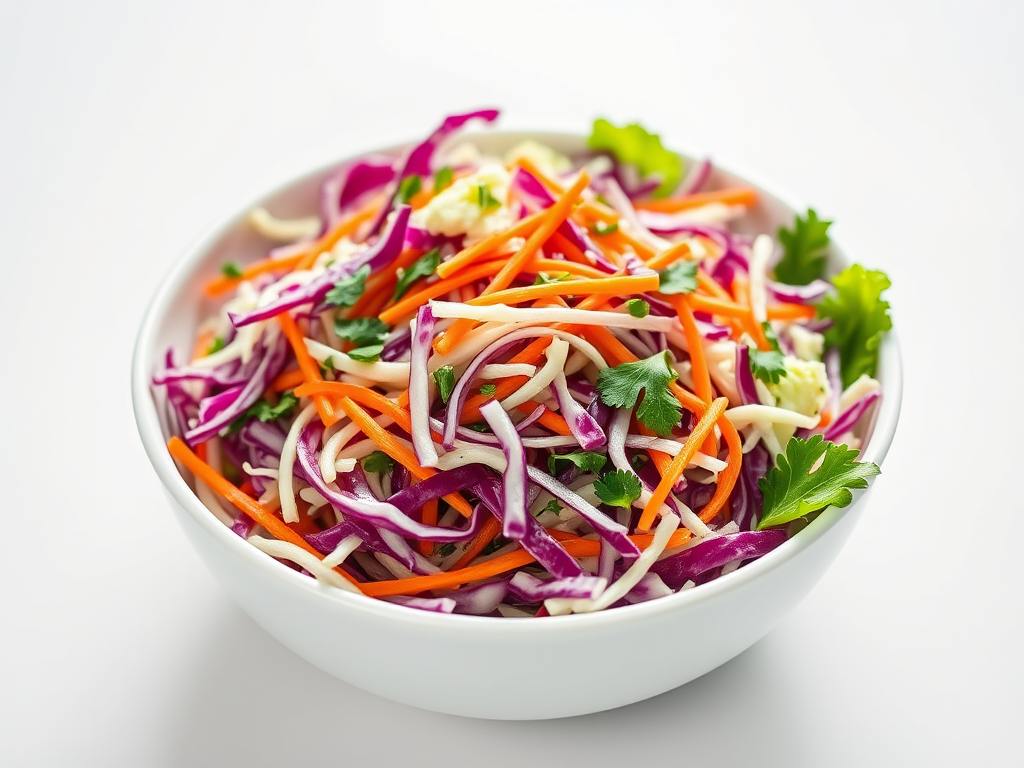
Grated fresh – adds crunch and mild sweetness to salads.
Fast cook
Slice into rounds and sauté with garlic, olive oil, and a pinch of chili flakes.
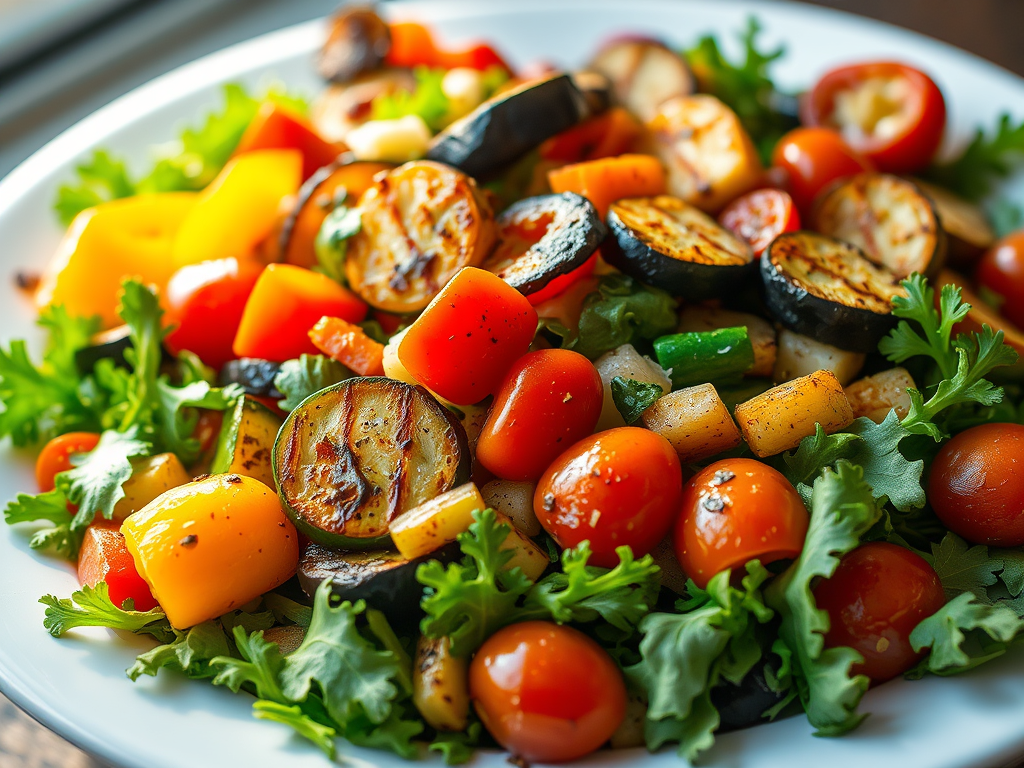
Slice into planks, dress with olive oil, salt and pepper, and do a quick sear or grill on both sides.
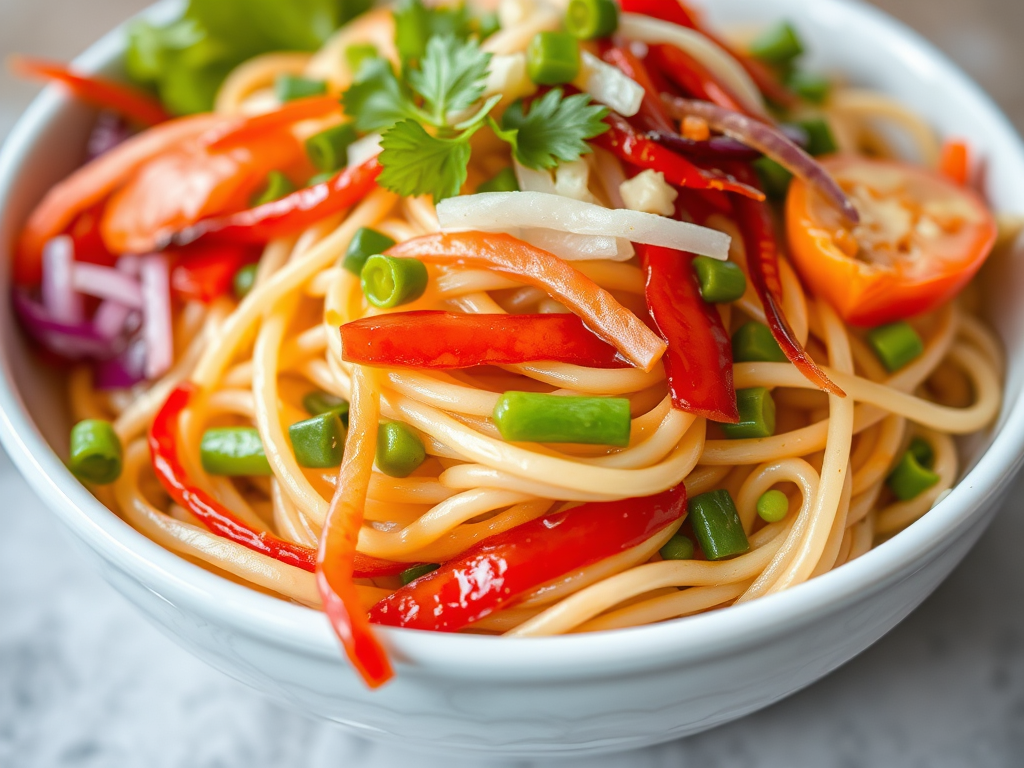
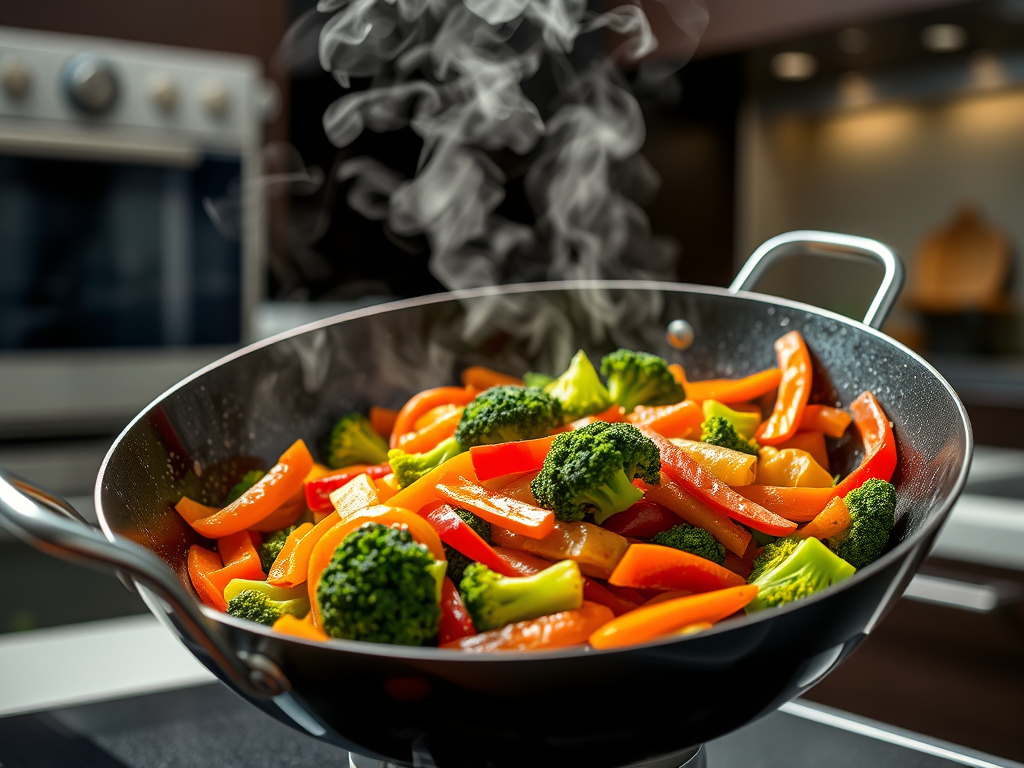
Slice into rounds and toss with soy sauce, sesame oil, and any other vegetables you favor. Do a quick stir-fry in a hot wok. Add chicken, tofu or shrimp for extra protein.
Classic Italian side dish – saute zucchini rounds with sliced sweet peppers, onions and garlic until tender.
Main dishes
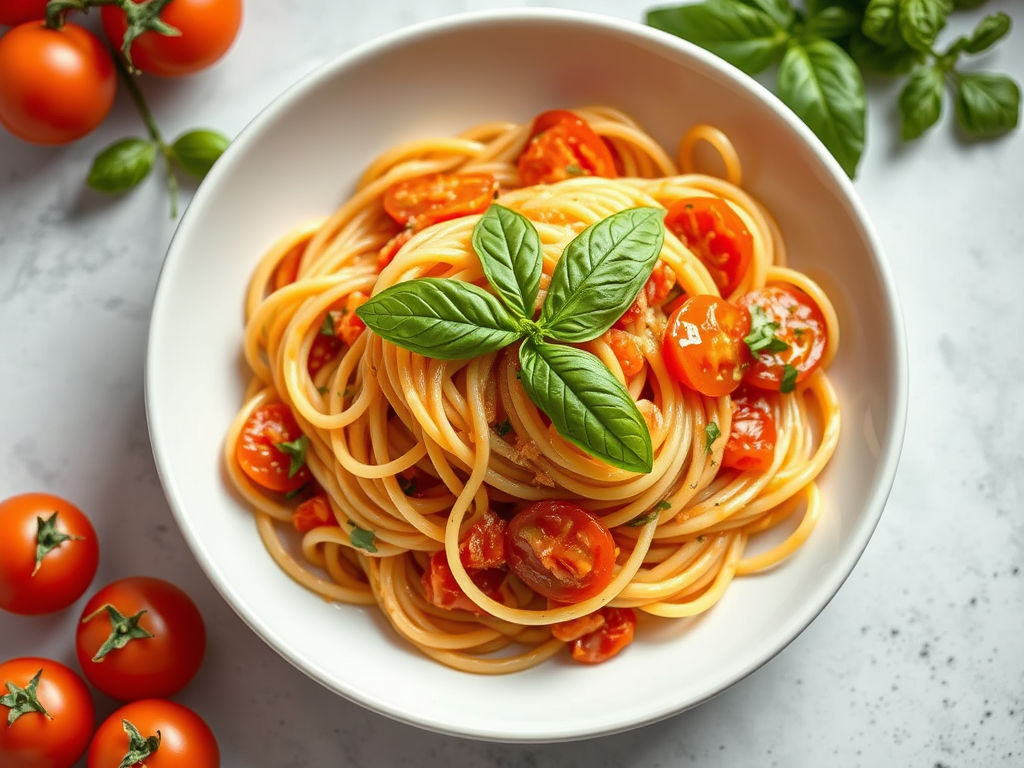
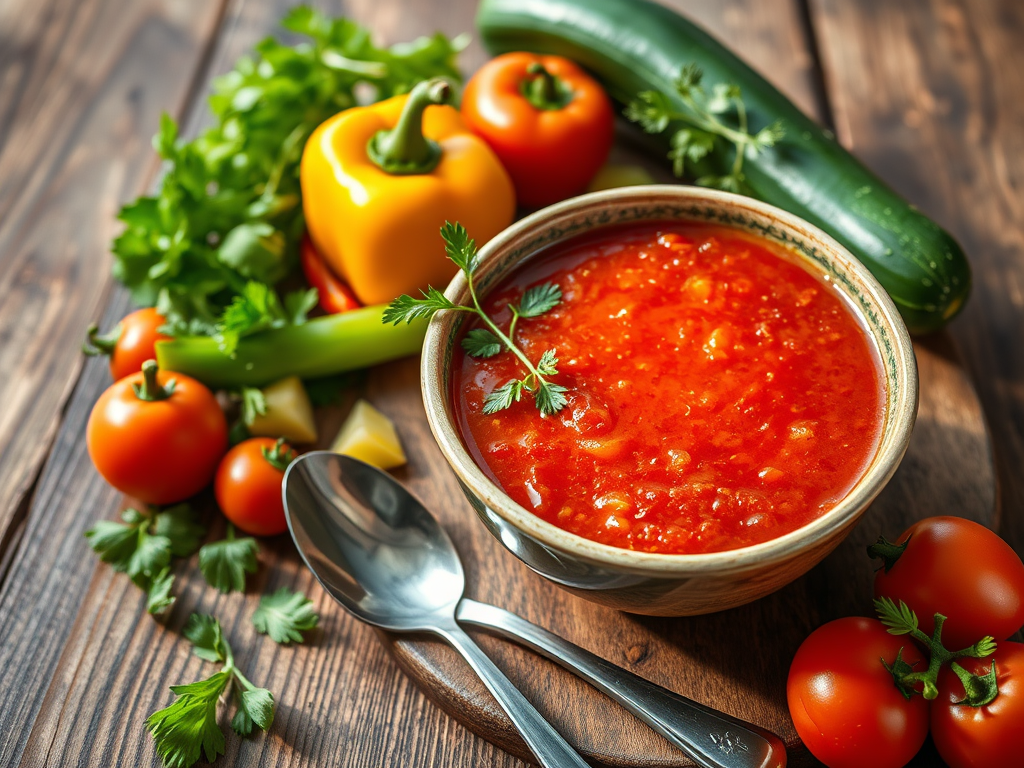
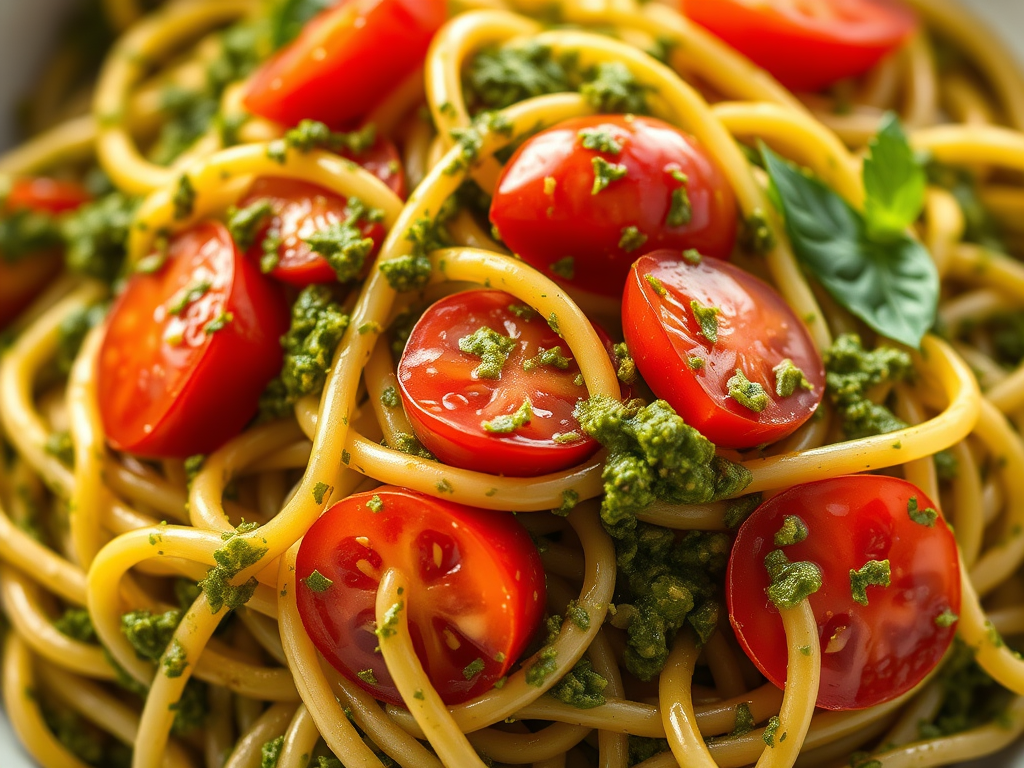
Zucchini noodles – slice into thin ribbons or use a spiralizer. Steam lightly and then top with pesto, marinara, or peanut sauce.
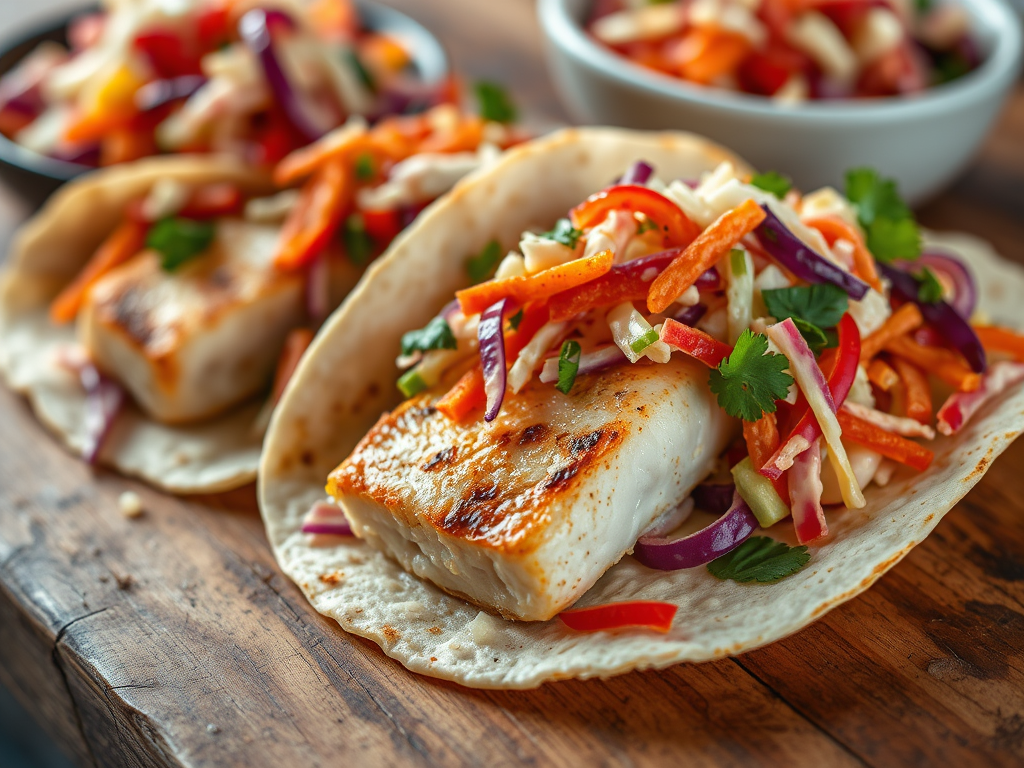
Zucchini pancakes – shred and squeeze out the moisture. Mix with egg, a bit of flour or panko breadcrumbs, shredded carrots and finely chopped onion. Saute until lightly browned on both sides. Serve with sour cream and applesauce on the side.
Stuffed zucchini boats – Slice in half and scoop out the center meat, leaving about ¼ inch in the peel. Fill with cooked quinoa, tomatoes, and herbs of your choice. Top with parmesan or mozzarella cheese. Bake at 350 for half an hour.
And if you still have an abundance, shred it, skin and all, squeeze out the moisture and freeze in portions for soups or breads.


You must be logged in to post a comment.