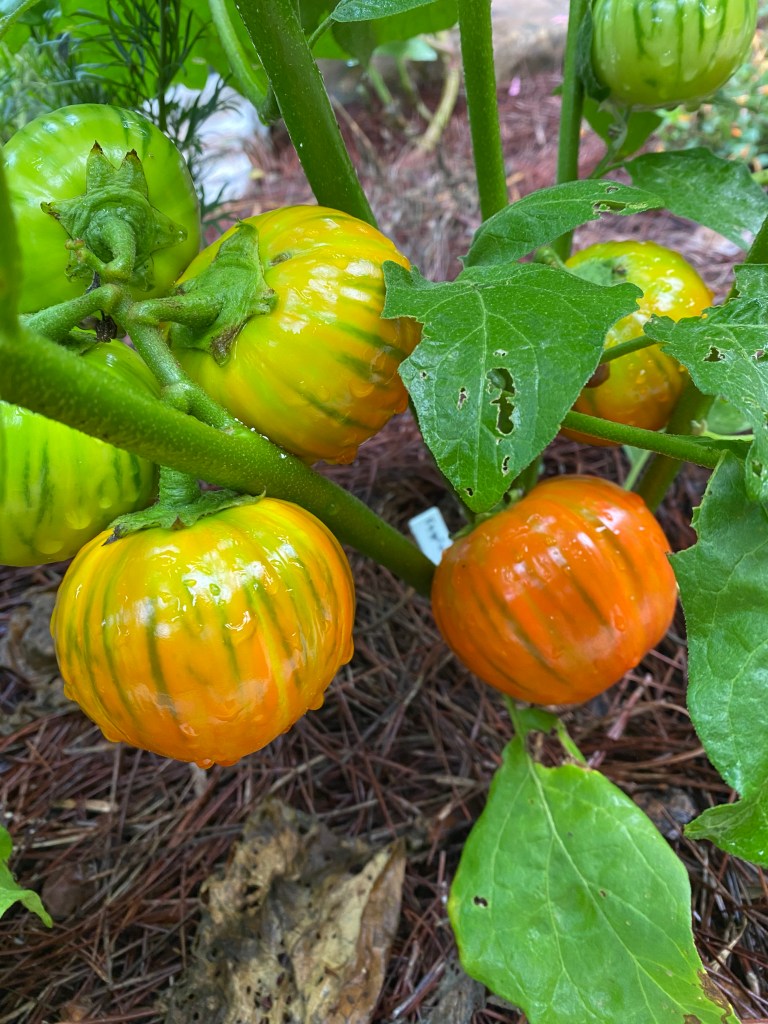
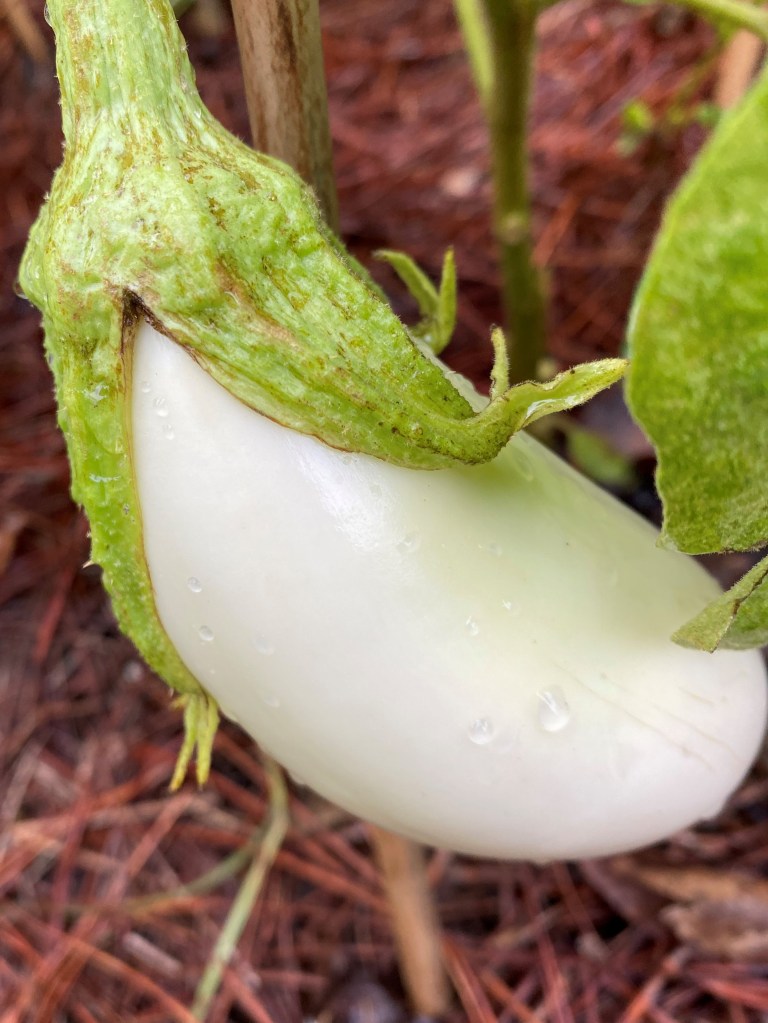
I’m growing Turkish orange, white and Japanese long purple eggplants this year and they are producing like crazy. They are beautiful additions to the garden, with their shiny bright fruits. But now what do I do with them?
Eggplants essentially take on any flavors you combine them with. Their creamy sweet flesh brings a lovely complement to summer meals. And they perform beautifully on the grill so you can keep the heat out of the kitchen. The smokiness from the grill enhances the flavor.
Types of eggplants
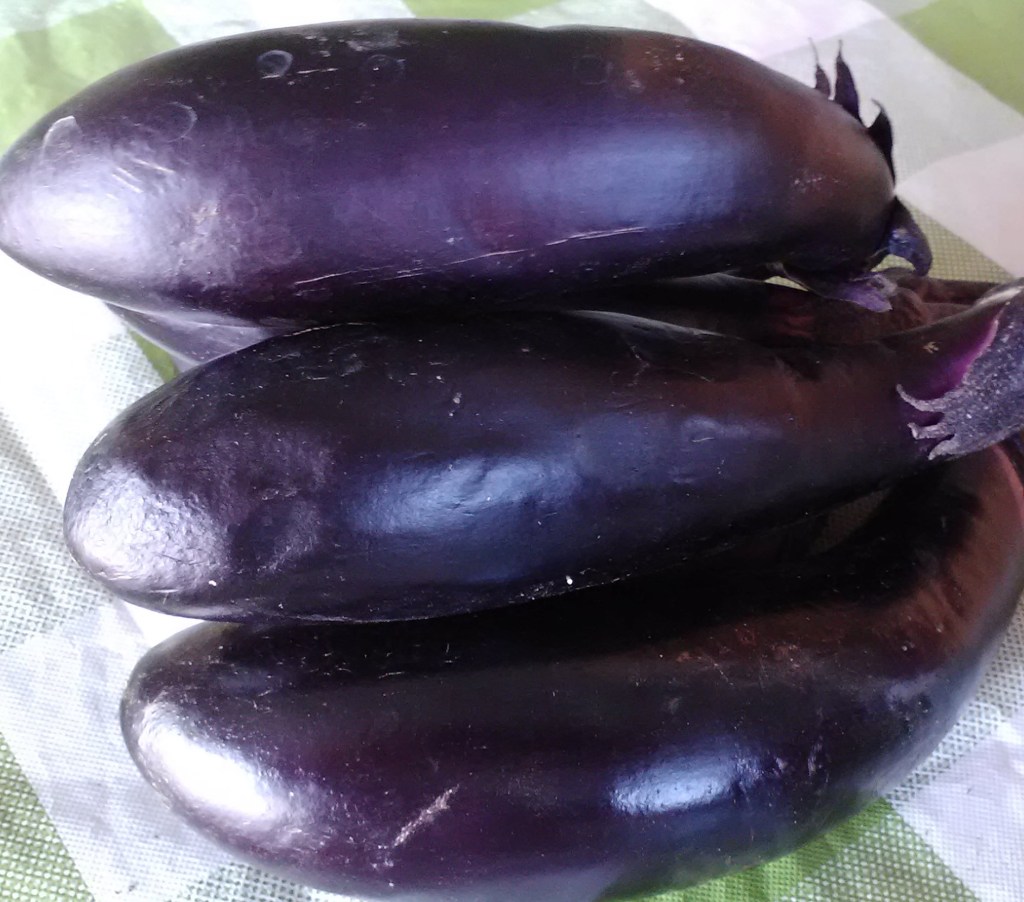
Check out the farmers market for interesting varieties. The traditional Italian eggplant is a large dark purple orb, but there are many different types available, particularly at the market. Italian eggplants are generally larger and round or oblong, in shades of purple, white and striped. Asian eggplants are long and slender and come in purple, white, pale purple and pink. And of course, there is my orange eggplant.
Harvest carefully
Eggplants are fairly delicate so need to be harvested carefully. They have spines on the stems, so take a pair of clippers with you. When harvesting or choosing from the farmers market, select eggplants with shiny, smooth skin. The more they lose their shine, the more bitter they become. Some cooks recommend slicing, salting and letting them sit for a half hour to remove some bitterness, but I’ve found this unnecessary. They sweeten elegantly when they cook.

Grill ’em
For the simplest preparation of the large eggplants, simply put the whole fruit on the grill and roll it around until the skin is beautifully charred. This may take an hour – it should be soft and shrunken. Let it cool and peel off the skin. Then you can mash the pulp for baba ganoush or caponata.
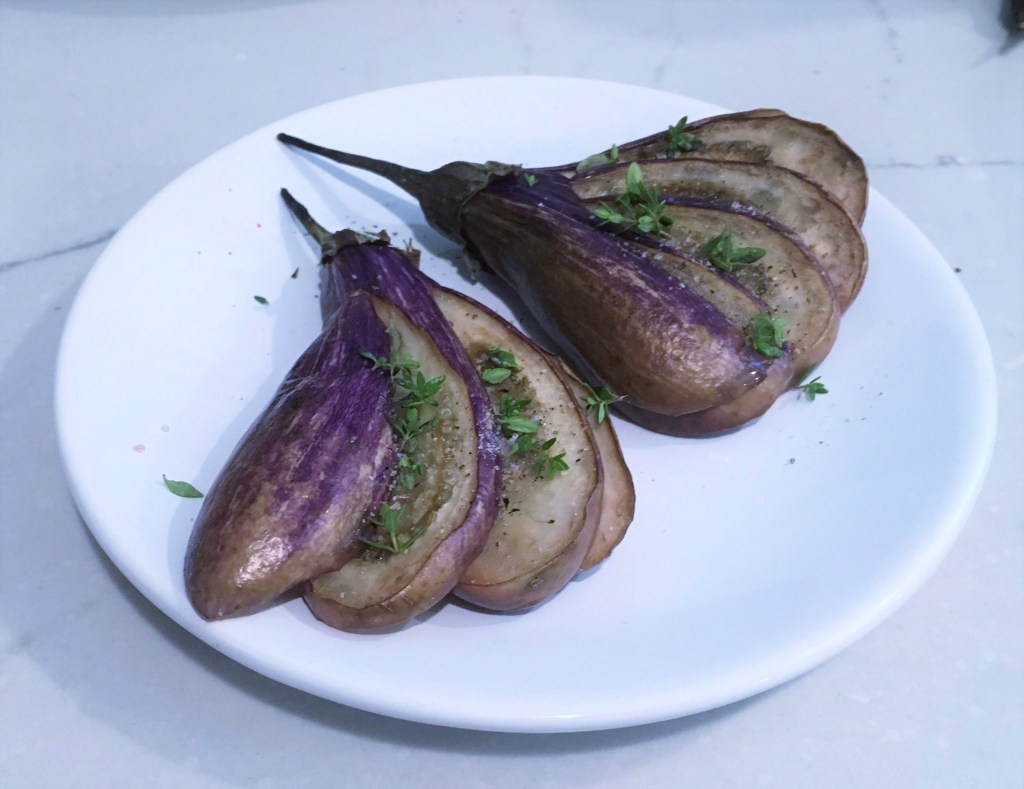
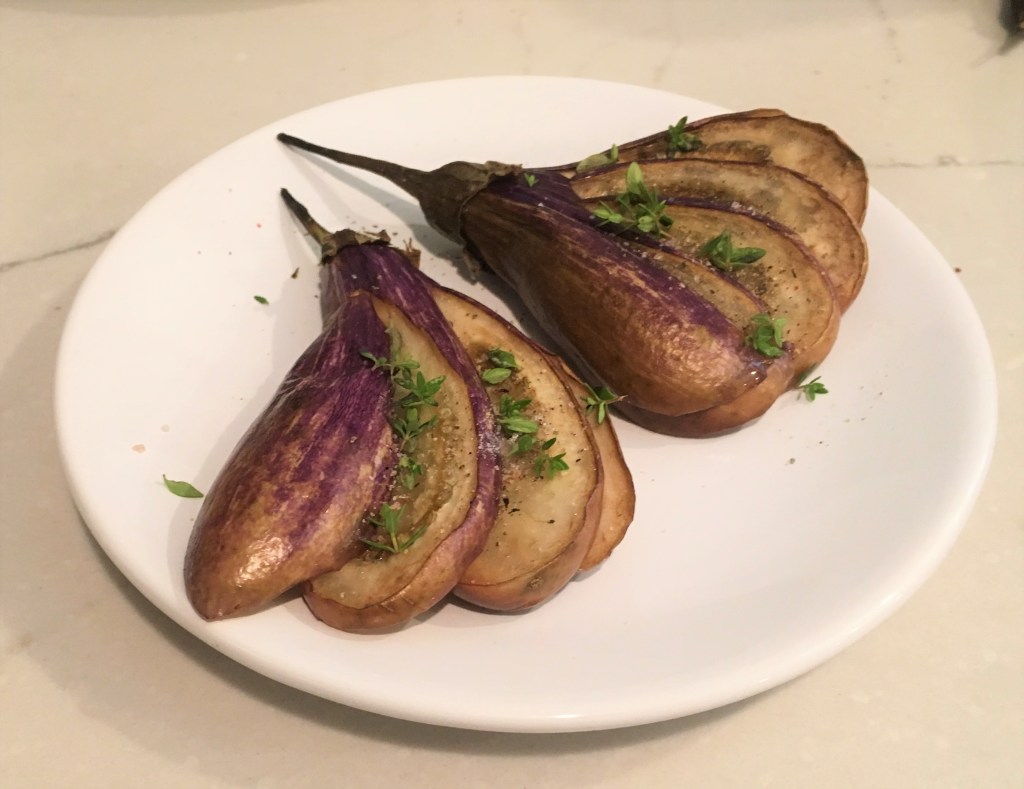
Smaller eggplants also perform well on the grill. Put the whole eggplants on a medium-hot grill and close the lid. Turn a few times and remove them to a plate to cool. Once they are cool, slice carefully and drizzle with olive oil and balsamic vinegar. They pair especially well with the flavor of thyme and feta. Serve as a side to grilled meats or a large fresh salad.
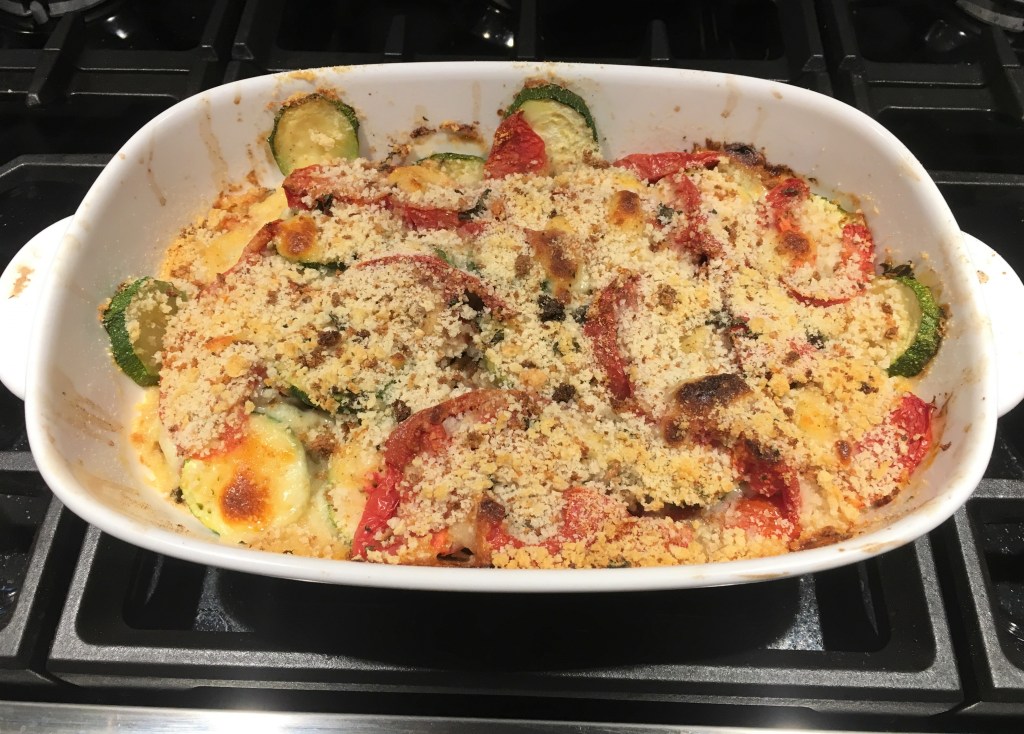
Farmers market strata
Eggplant is a natural companion to tomatoes and summer squash or zucchini, especially since everything is coming in at the same time. Throw together a layered strata with mozzarella and you have a beautiful main dish. Roast the vegetables first for an especially delicious take. Pair it with crusty Italian bread and a fresh salad for a wonderful summer meal.
Eggplants also freeze quite well when cooked although the flesh will not be firm when defrosted. Slice them in half, roast cut side down at 375 for 15-20 minutes depending on the size. Scoop out the flesh and freeze in freezer bags. When thawed, add breadcrumbs, garlic, feta and other seasonings to your taste for a delicious quick dip for fresh vegetables or pita chips.
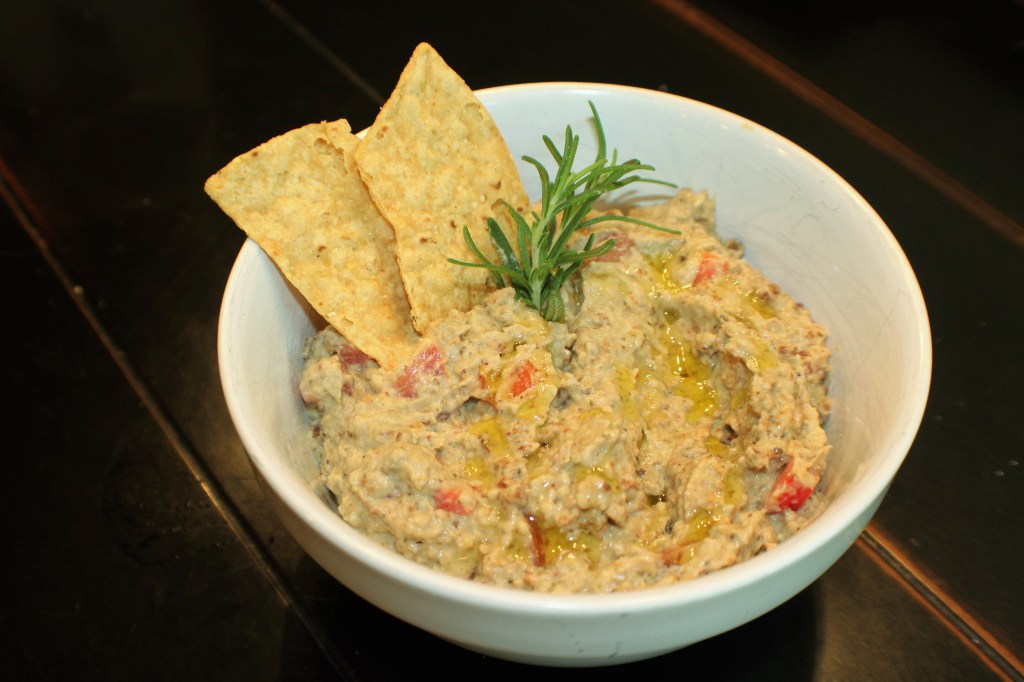
Eggplant dip (Baba ganoush)
1 medium eggplant
½ medium onion, diced
1 large clove garlic, diced
1 medium red bell pepper
½ c. toasted bread crumbs
¼ c. tahini
¼ t. cumin
1 large tomato, diced
1 T. vinegar
Salt to taste
Cut eggplant in half and roast cut side down on an oiled cookie sheet at 375 about half an hour until soft. Cut the pepper in half and discard seeds and membranes. Flatten with your palm so there is more surface exposed. Roast about half an hour until the skin blackens. Scoop into a bowl and cover with a plate to let the peppers steam further. When cool, remove the peppers and peel off the skin. Scoop out the pulp and discard the skins.
Saute onion and garlic in 2 T. olive oil until soft. Either puree the vegetables in a food processor until smooth or simply mix and leave chunky.
Stir in rest of ingredients, salt to taste and serve at room temperature with pita chips.
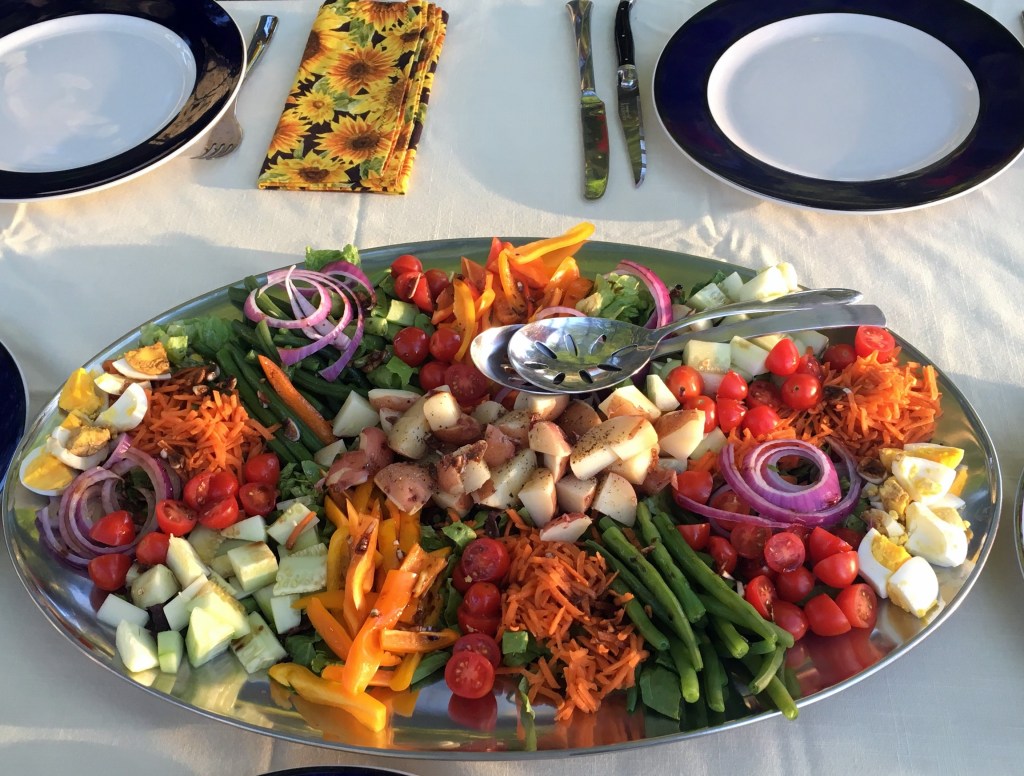
Eggplant salad
Peel and cube a large eggplant. Toss the cubes with olive oil and roast in a 375-degree oven for about half an hour, until tender. Remove from oven and toss while warm with a vinaigrette of your choice. Refrigerate two hours. When ready to serve, toss with chopped tomatoes, cucumbers and sweet peppers. Add crumbled feta, chopped fresh basil and more dressing if necessary.


You must be logged in to post a comment.