
I don’t do resolutions. But I do love the idea of a fresh start for some things in my life. So, here is my resolve for all of us. Just start.
I’ve been reading so many gardeners’ and cooks’ resolutions that my head is spinning. But the one thing that seems a common thread through all of these is the desire for simplicity.
I’ve touted this for years, that simple gardening and simple cooking will bring us back to the garden and kitchen in a restful, pleasant way. And if it becomes meaningful or artistic, all the better. But mostly, we just need to start. Start small, start easy and most of all, don’t pressure yourself to create a masterpiece.
Gardening
For gardening, perhaps it means getting two pots, filling them with soil and planting lettuce. When the lettuce is done, plant carrots. Or a pepper or a tomato. If you are successful (meaning you get something on the table, even a simple salad), then ask yourself if you want to go further with your garden.

Cooking
For cooking, try this:
Chop a sweet pepper, a sweet onion and a small zucchini or a couple of leaves of chard. Saute them in olive oil until tender, season to your liking, and serve over cooked rice or pasta. Simple! And delicious. Cooking doesn’t have to be hard. And, you can always embellish as your heart leads you.

For a bigger challenge:
Saucy Greens
1 small bunch of Swiss chard or other greens
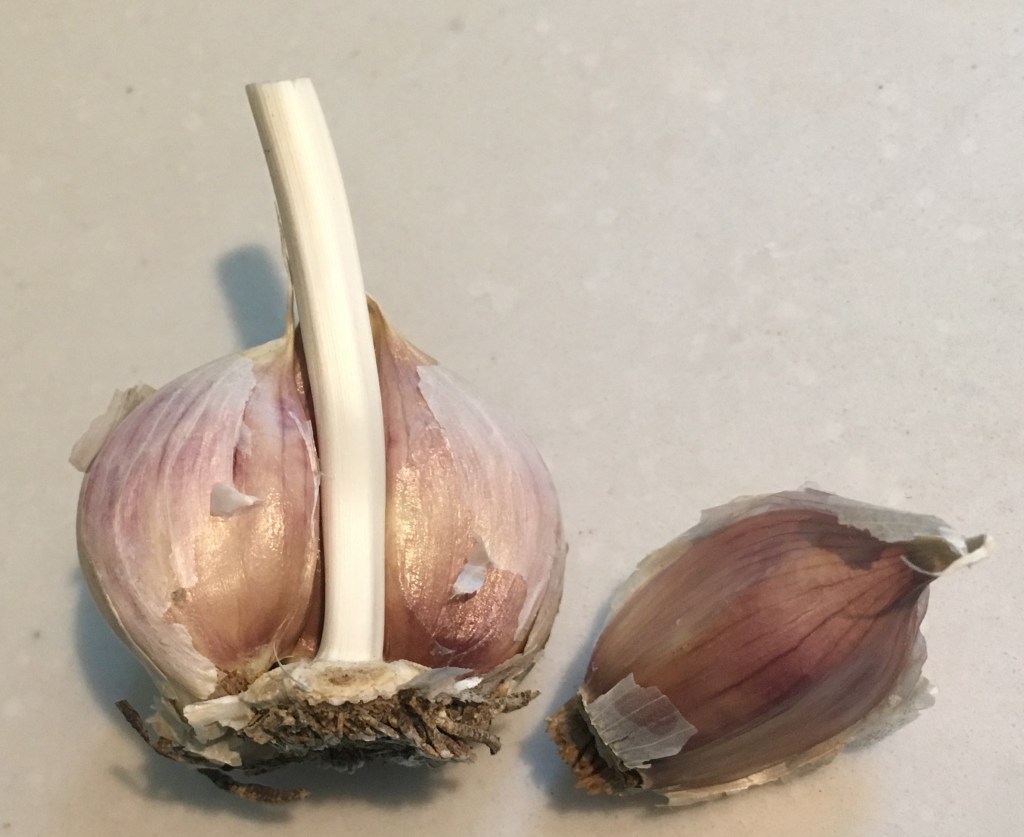
1 clove garlic, minced
¼ c. onion, sliced
1 T. olive oil
1 T. balsamic vinegar
1 t. Sugar
Salt and pepper to taste
½ c. chopped tomatoes
2 T. sour cream or plain yogurt
1 T. sriracha sauce if desired
2 large eggs if desired
Rinse the greens liberally and remove tough stems. Stack the leaves and roll them into a “cigar” and slice thinly. Add garlic and onion to olive oil in heavy pan and saute until tender. Fry eggs in separate pan if you intend to use them. Add greens, vinegar and sugar and saute about 5 minutes until greens are tender. Turn off the heat and stir in tomatoes and sour cream or yogurt. Salt and pepper to taste.
Most of all, have a wonderful 2020 and don’t be afraid to play!


You must be logged in to post a comment.