
Have you ever been to a potluck or party where bean dip or hummus was not standard fare? Kick these healthful dips up a notch by adding all manner of vegetables and seasonings – a great chance to use your imagination.
Serve traditional hummus in non-traditional ways
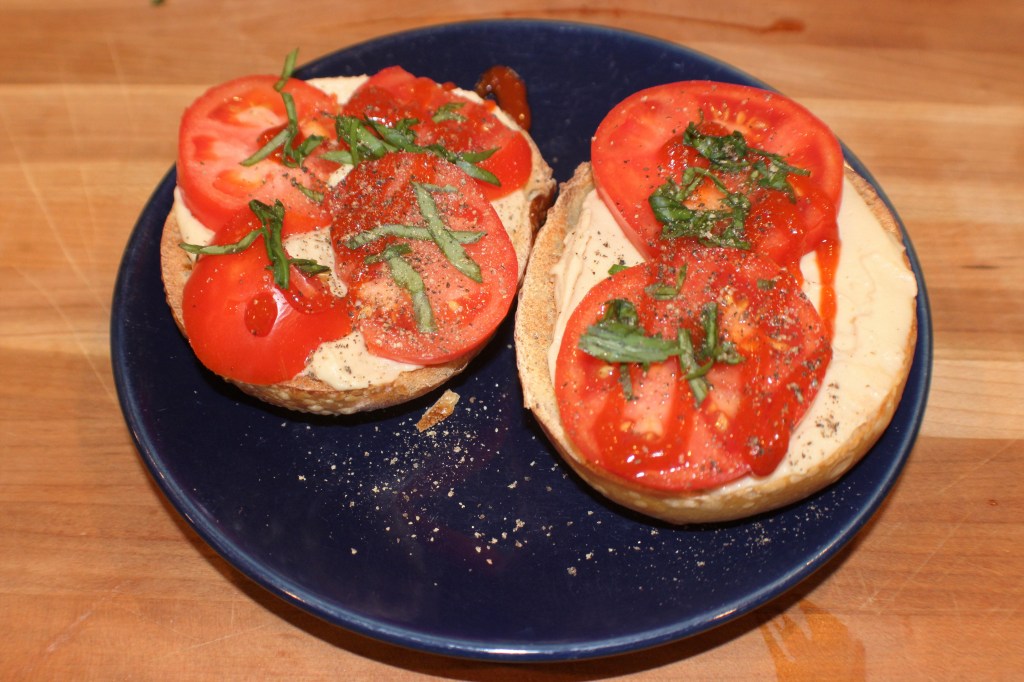
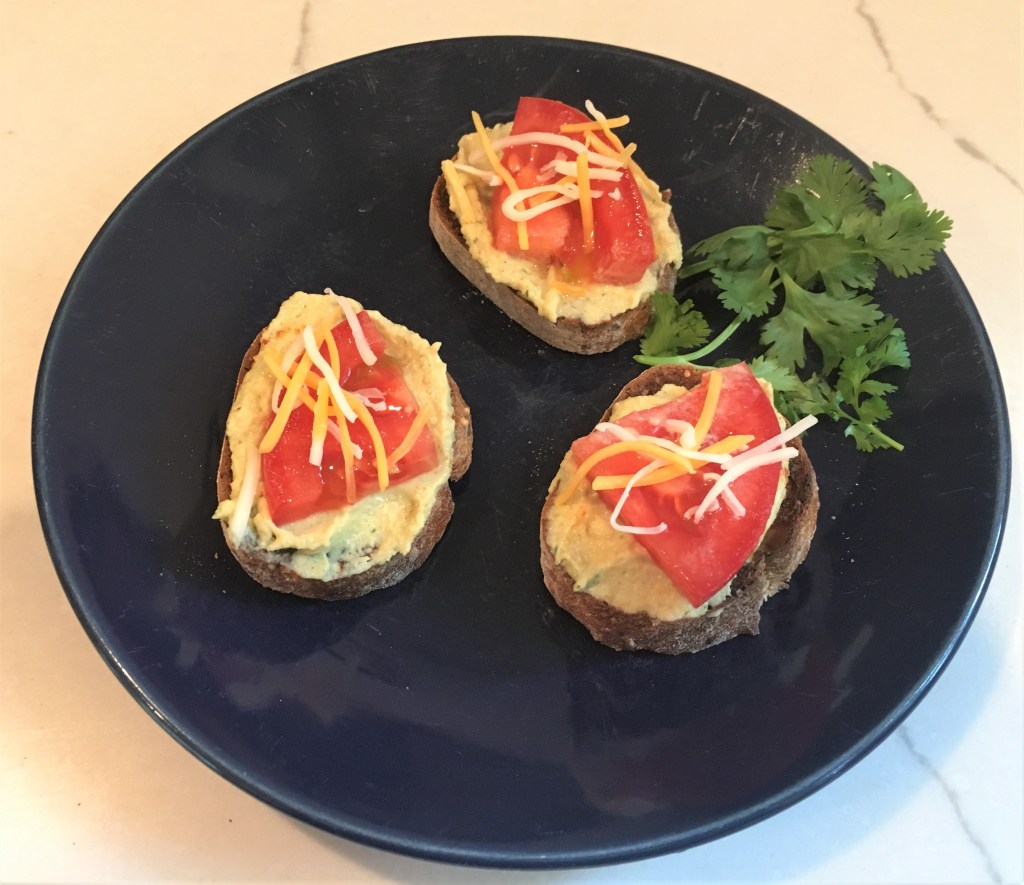
Traditional hummus is made with chickpeas and tahini, but you can make a delectable spread or dip with absolutely any type of bean and just about anything added to it. Vary your recipe with seasonings as well as what you serve it on. Try it spread on toasted baguette slices, topped with chopped tomatoes, garlic and basil as a riff on bruschetta. Or simply try it on a sandwich in place of mayonnaise. Delectable!
If you’re willing to experiment:
If you’re willing to experiment!
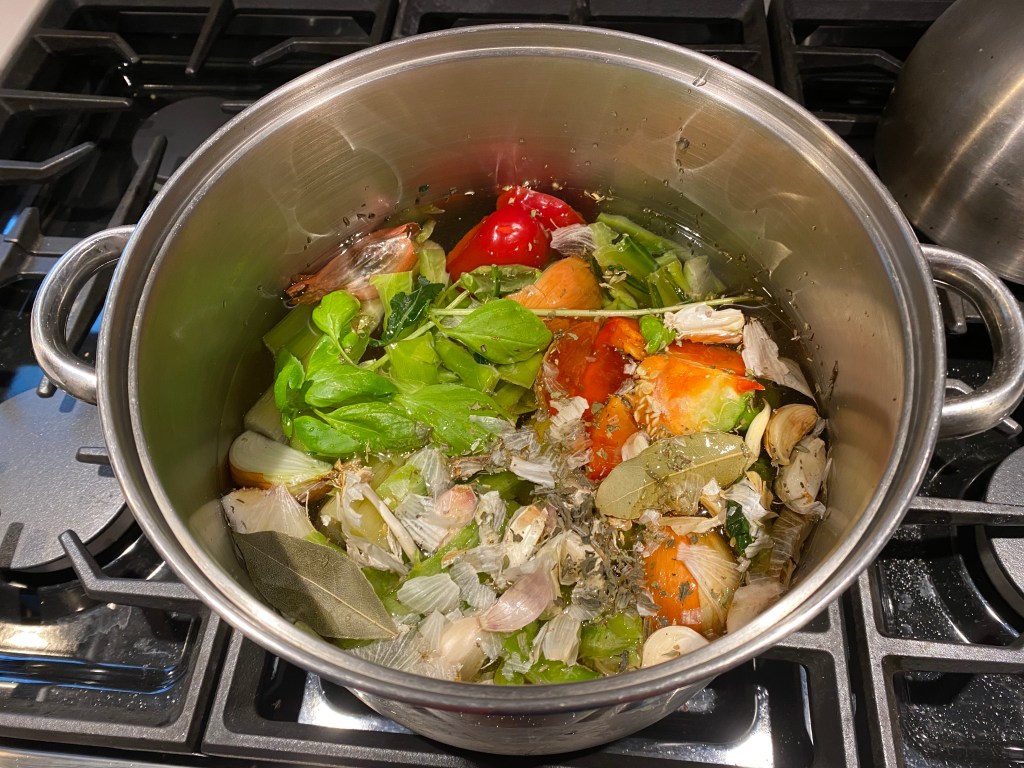
Puree 2 cups cooked garbanzos, cannelini beans, even black-eyed peas. You can use tahini or any other type of butter such as almond, walnut or pecan butter. Peanut butter makes it a bit strong, but still good. Add roasted peppers, cooked pumpkin, spinach, chard and season with garlic, cilantro, parsley or thyme. Season with sriracha, chipotle tabasco or other pepper for a kick. Leave it somewhat chunky or puree until smooth, according to your taste.

The basic recipe for hummus (substitute at will!):
1 can chickpeas, rinsed and drained or 2 cups freshly cooked
1/2 c. tahini
1 T. lime juice
1 t. cumin
1 clove garlic
1/4 t. cayenne
Olive oil
Salt to taste
Blend all but the olive oil. Gradually add enough olive oil to make it creamy but not runny. Season with salt to taste. Refrigerate for the flavors to blend. Serve at room temperature with toasted pita chips, pretzels or sliced cucumbers, peppers aand carrot sticks.
Other combinations:
Black beans with sour cream, cumin, garlic and chopped chipotle chiles in adobo. Serve with tortilla chips or toasted corn tortilla wedges
White beans with almond butter, roasted peppers, roasted garlic. Serve with pita chips or toasted baguette slices.
Black-eyed peas with crumbled crisp bacon, sweet onion and sweet peppers. Serve with cornbread squares
To traditional hummus, add chopped roasted red peppers, a couple of tablespoons of cooked pumpkin or butternut squash or sun dried tomatoes.


You must be logged in to post a comment.